![]() "Renovating Walls"
"Renovating Walls"
A Terrain Masterclass by Tony Harwood
Christmas wouldn't be Christmas without ill conceived DIY projects in the home, however, in a bid to spare you from the wrath of family members master model maker Tony Harwood draws your attention to a smaller project.
~
In previous articles I have detailed how I have built Wargame structures from ‘scratch’. In this short tutorial I will show how I have gone about improving and ‘Flintloque-efying’ some standard resin walls, bought from e-bay.
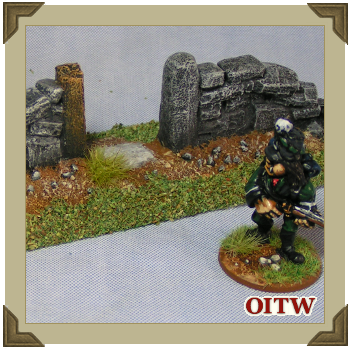
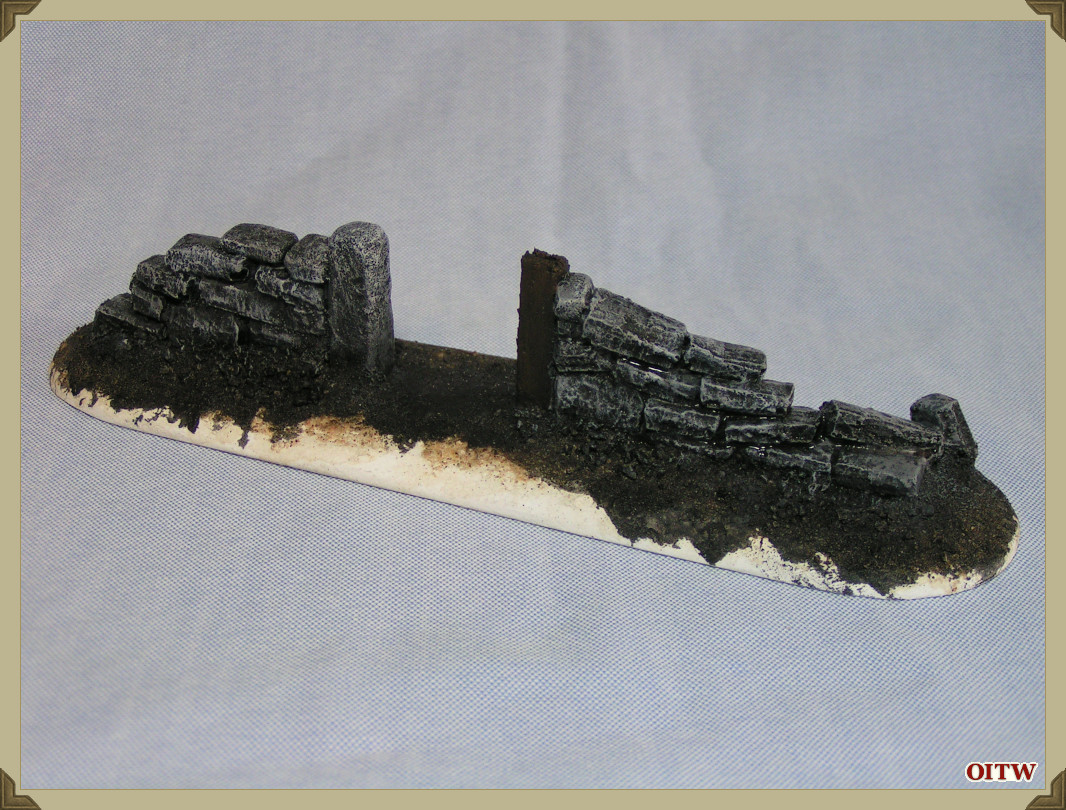
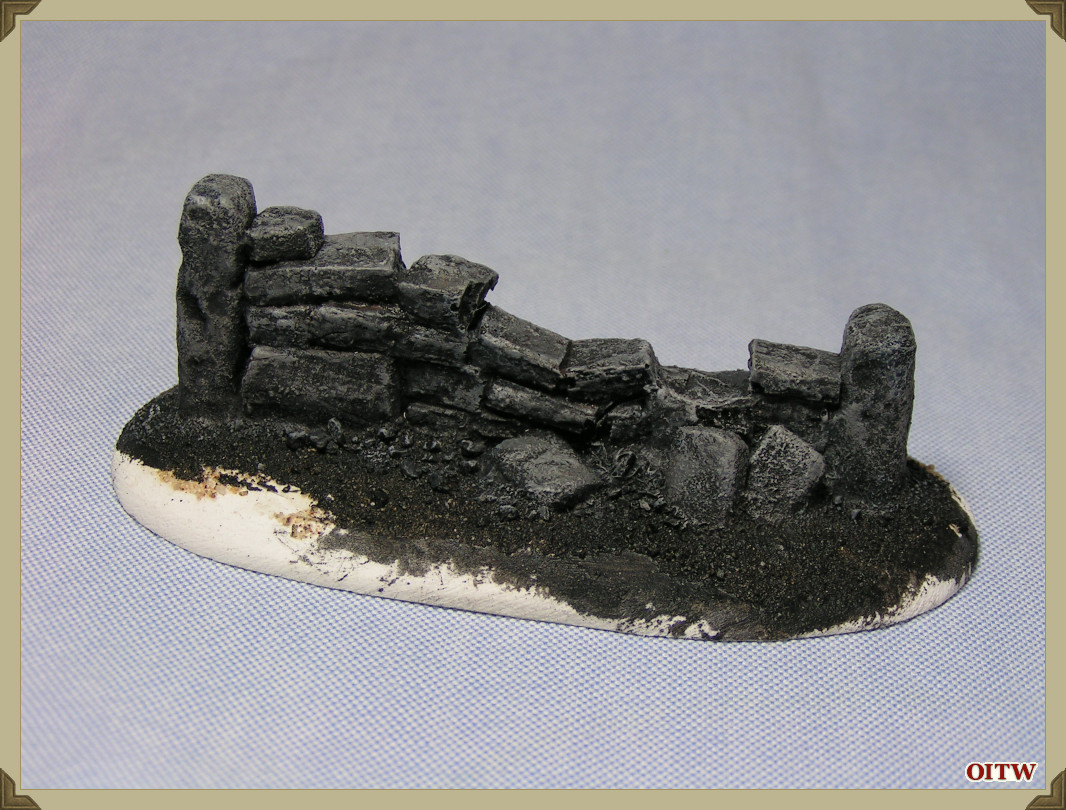
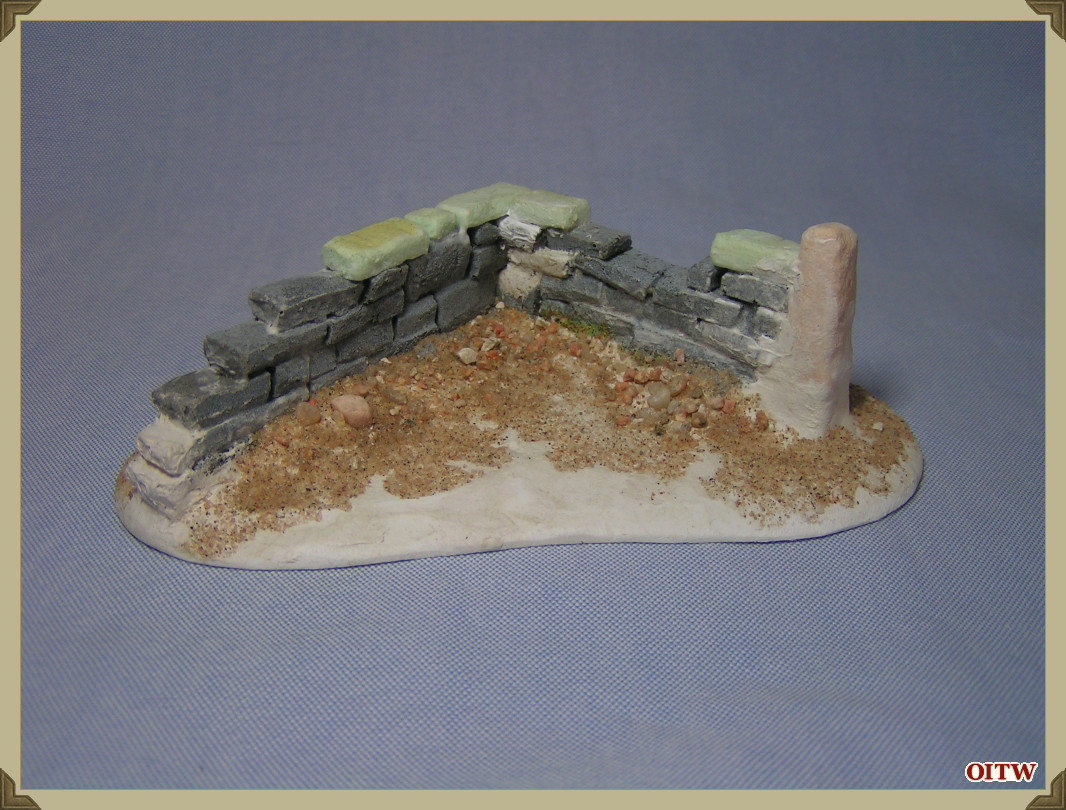
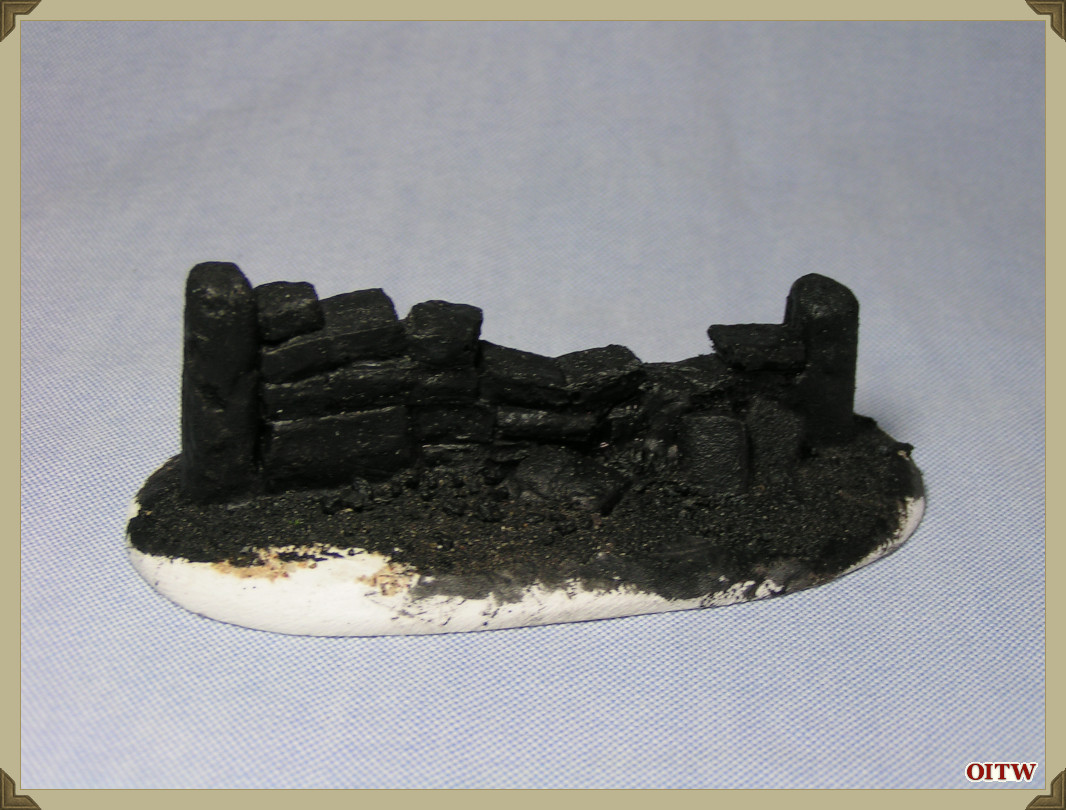
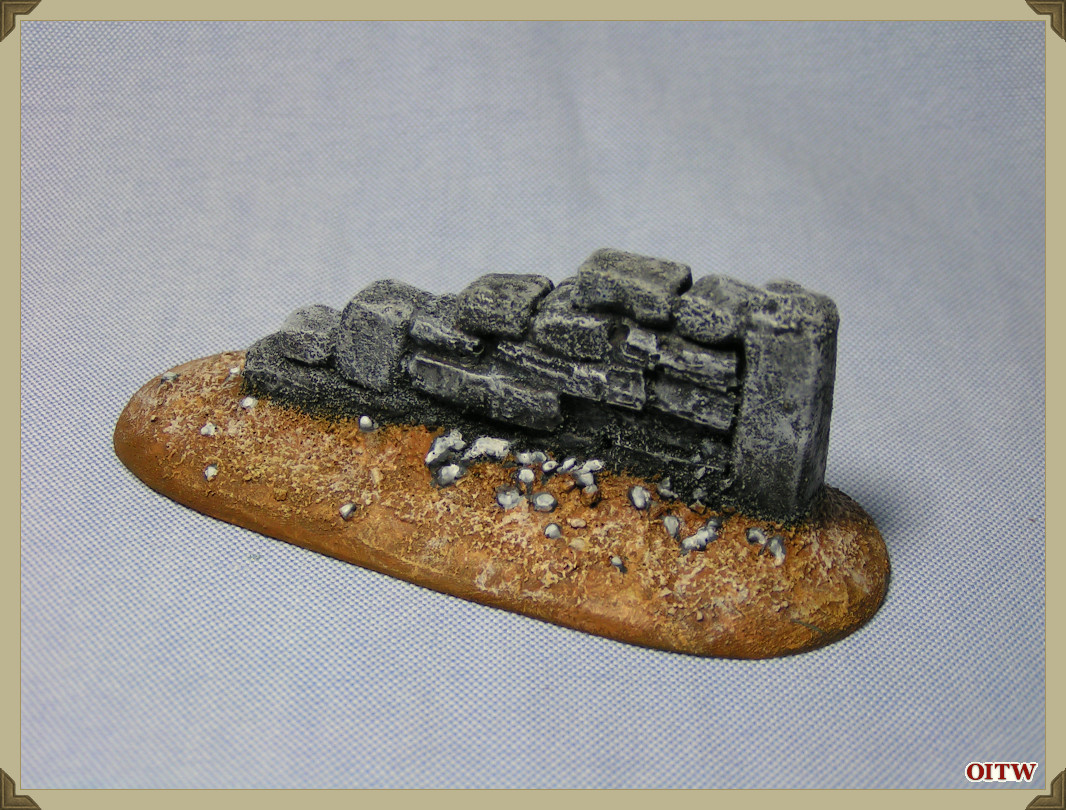
These three wall sections were picked up for the bargain price of £3.50 plus postage from e-bay. I believe the models were originally sold through Games Workshop.
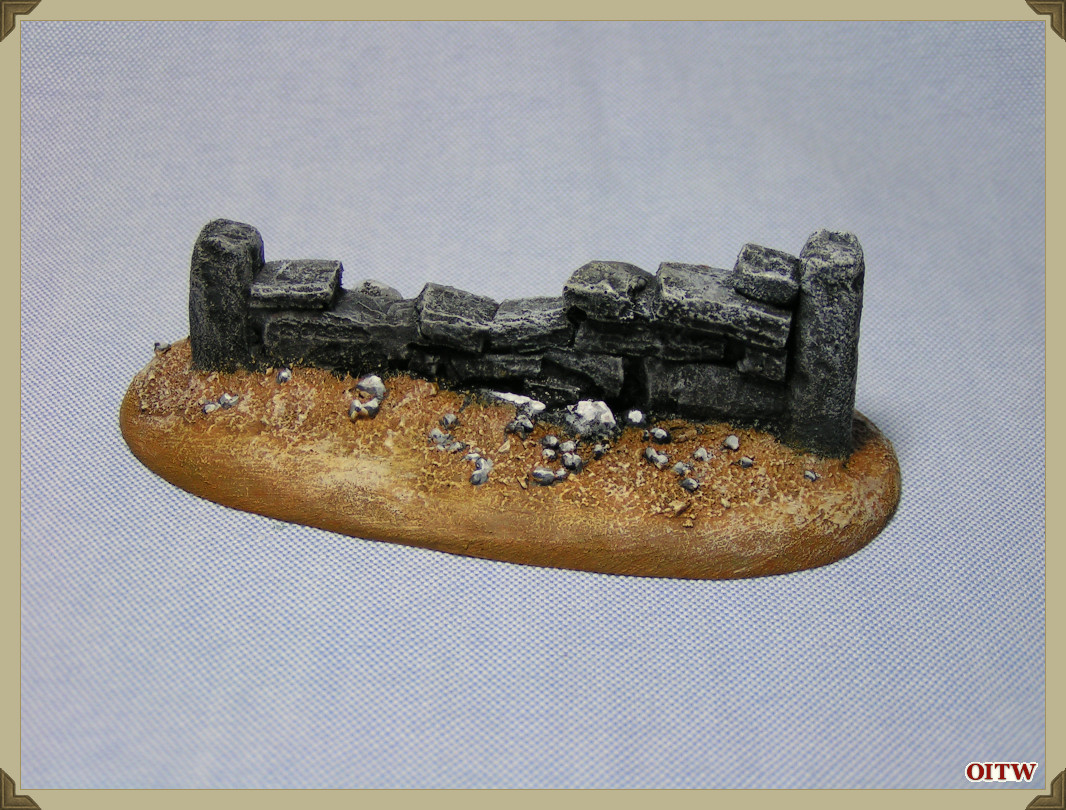
In this image you can see one of the walls in greater detail.
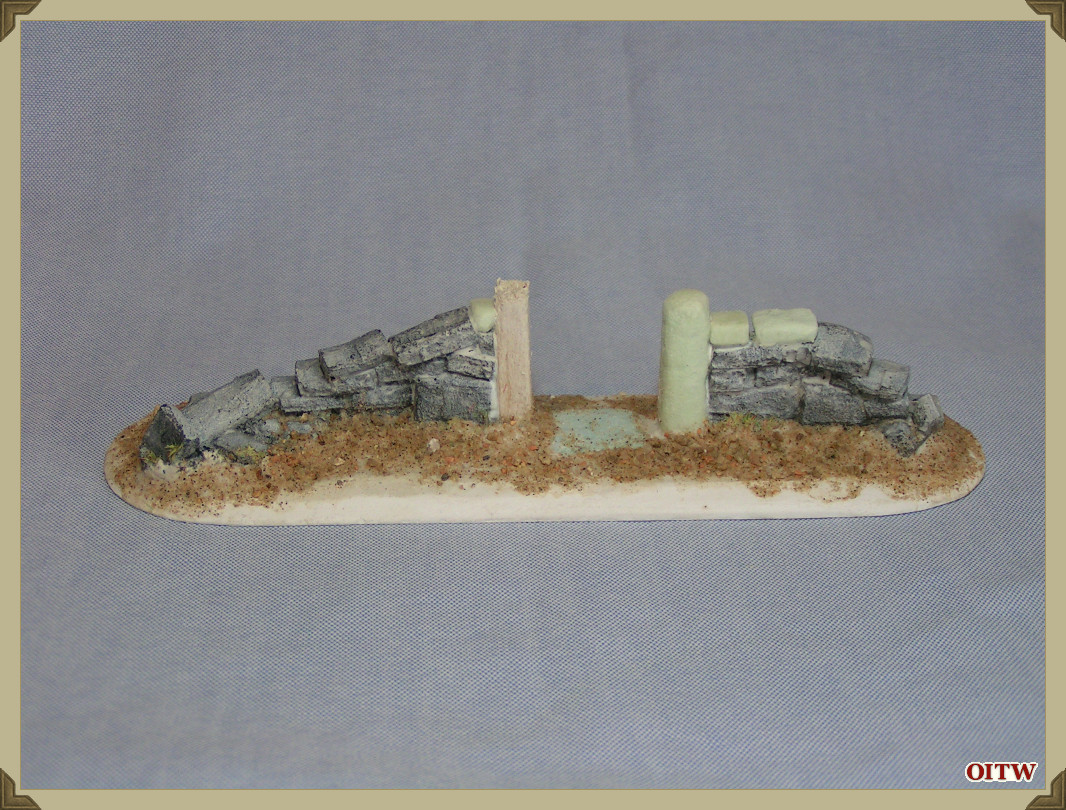
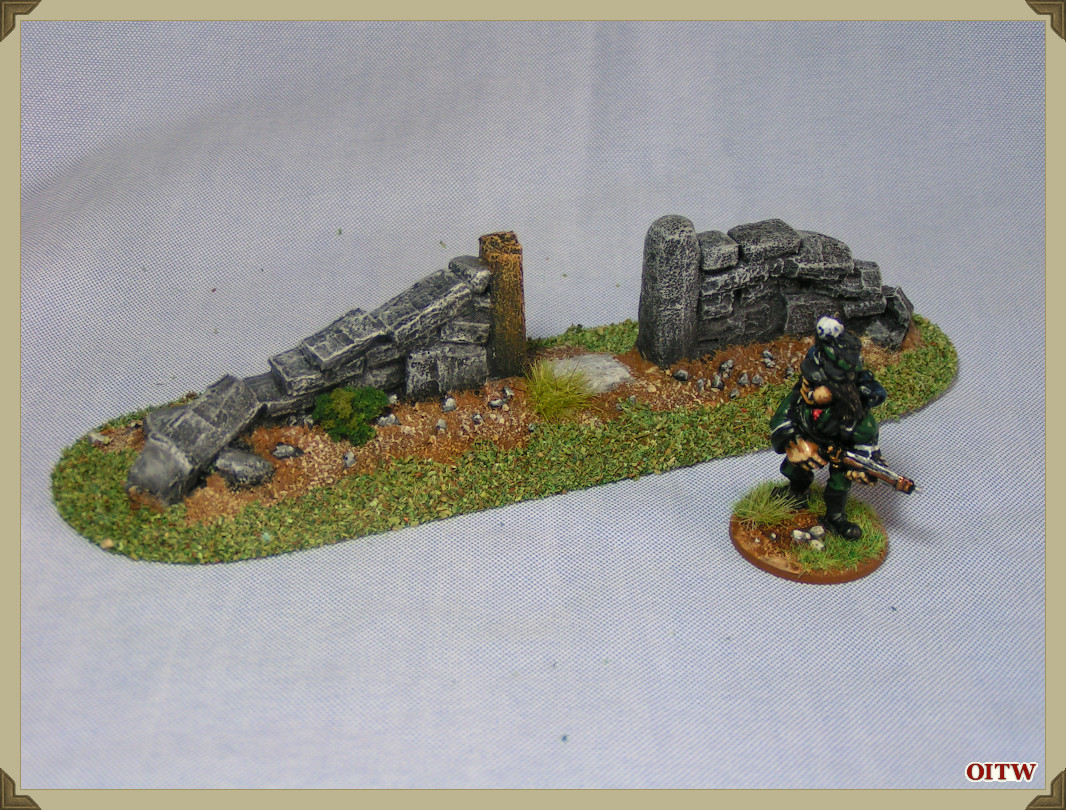
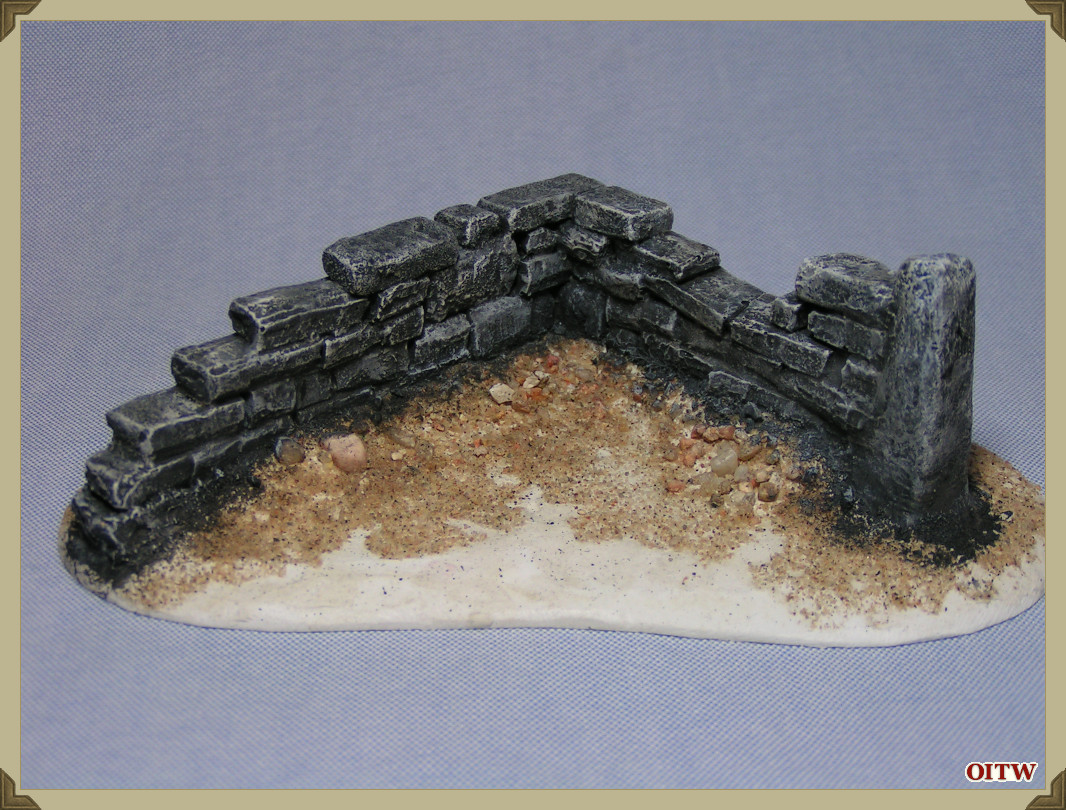
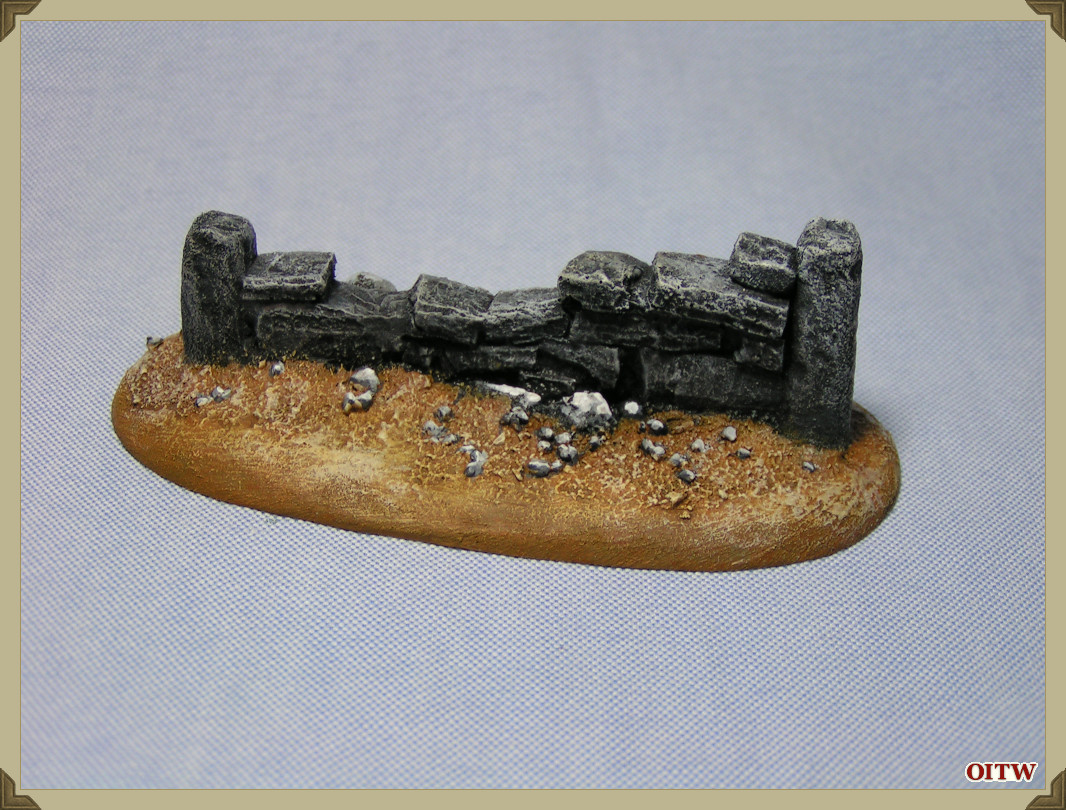
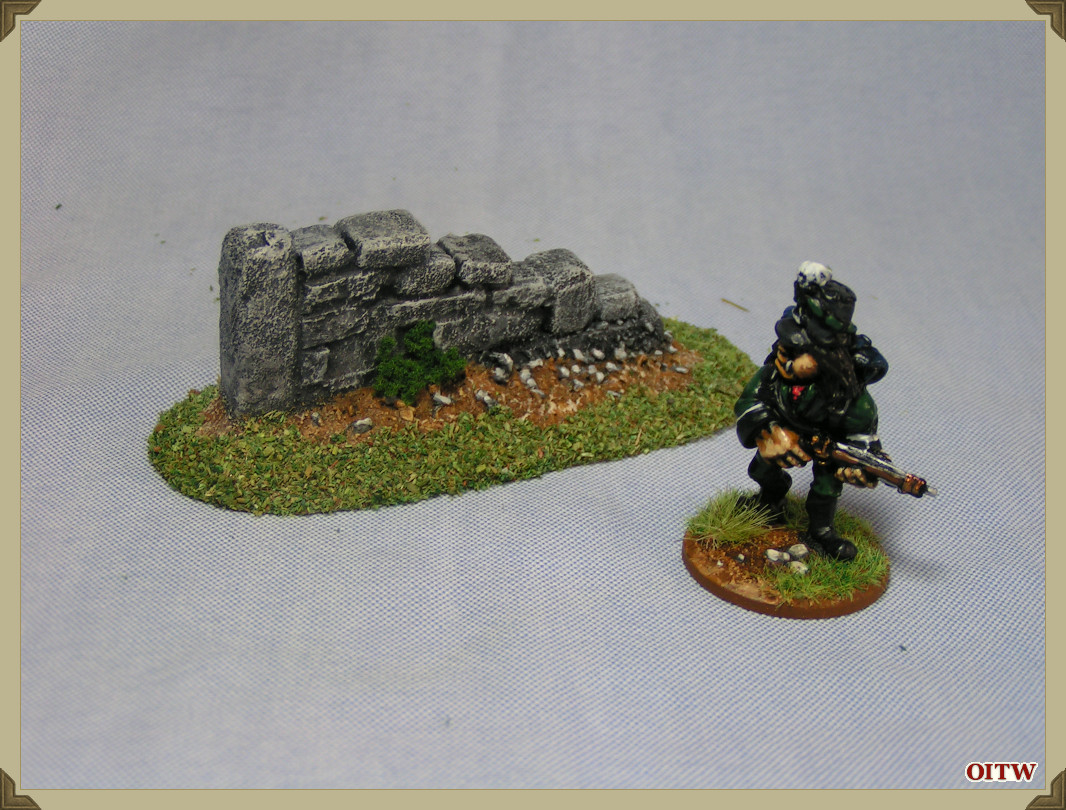
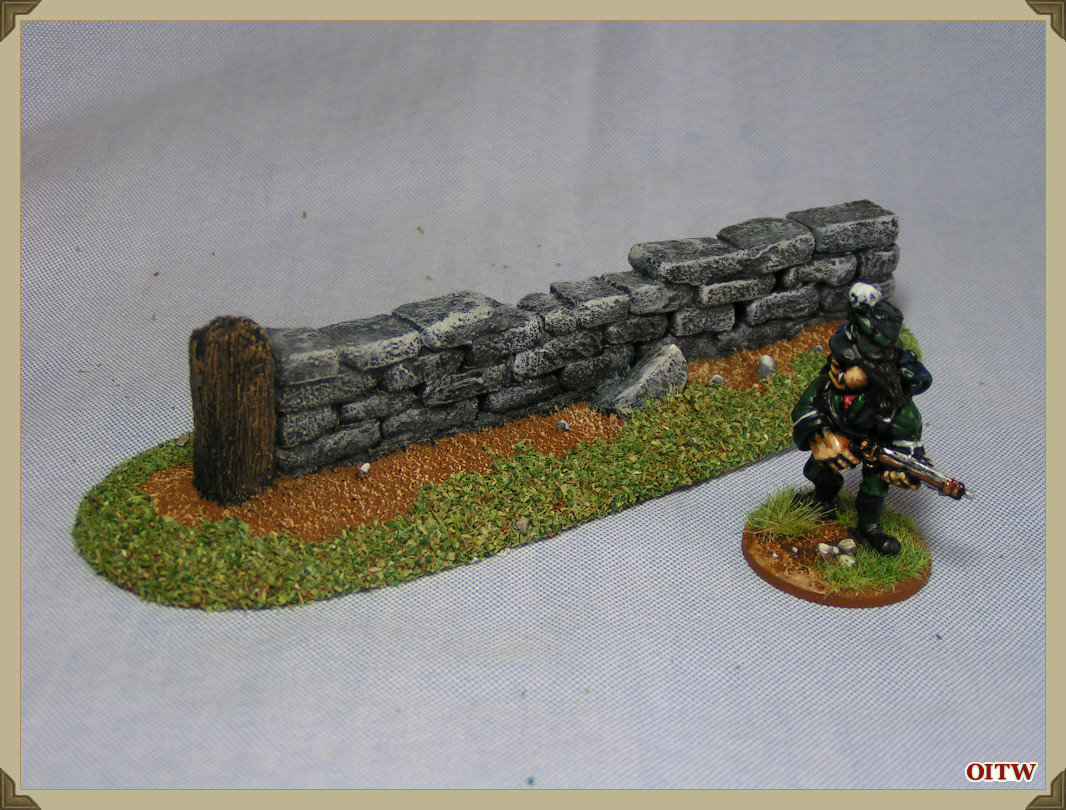
And here the same wall section, highly modified, based on some 3mm thick plastic card, the groundwork built up with DAS modelling clay and further textured with some sieved stones and sand.
I have painted the model over a Black/Dark Brown base and highlighted with Grey (mixed from Chaos Black and Skull White).
The model has been ‘washed’ with both Mud and Black washes from Citadel.
The base has been painted in my usual style and colour, two layers of Snakebite Leather from GW, highlighted with Snakebite and Skull White before some of the larger stones have been picked out with Grey.
Once varnished with Galleria matt varnish, I have flocked the base with dyed sawdust and a ground foam bush plus the odd static grass tufts.
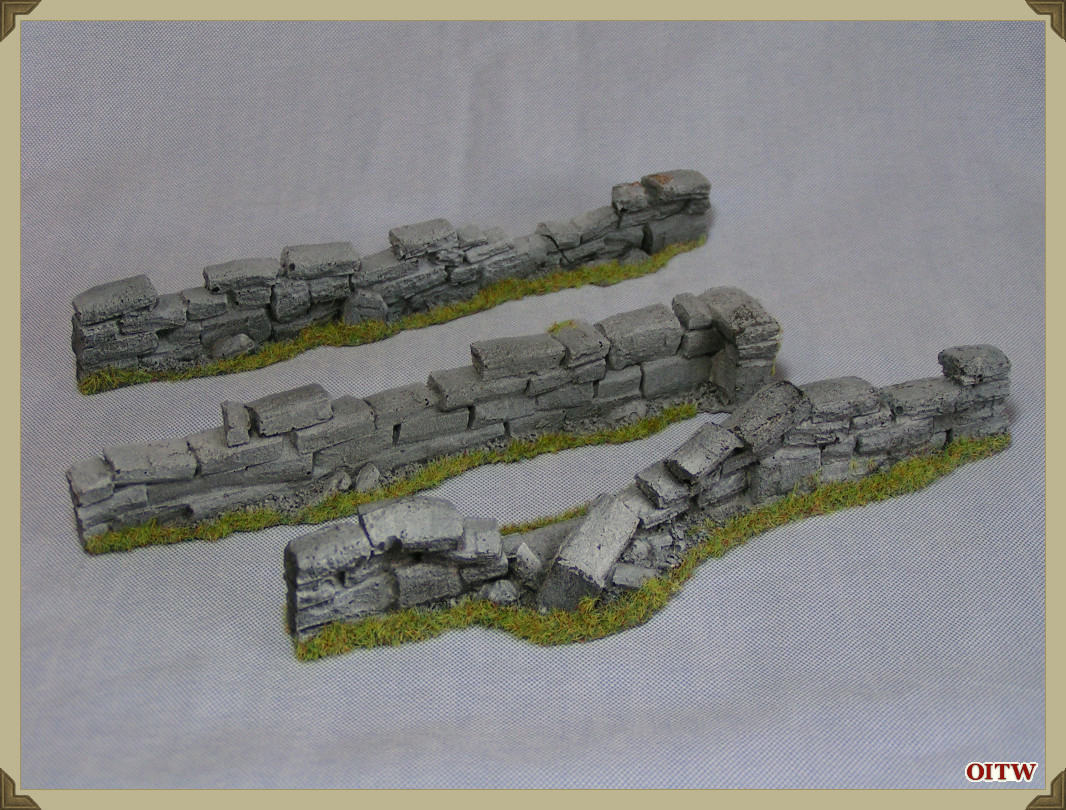
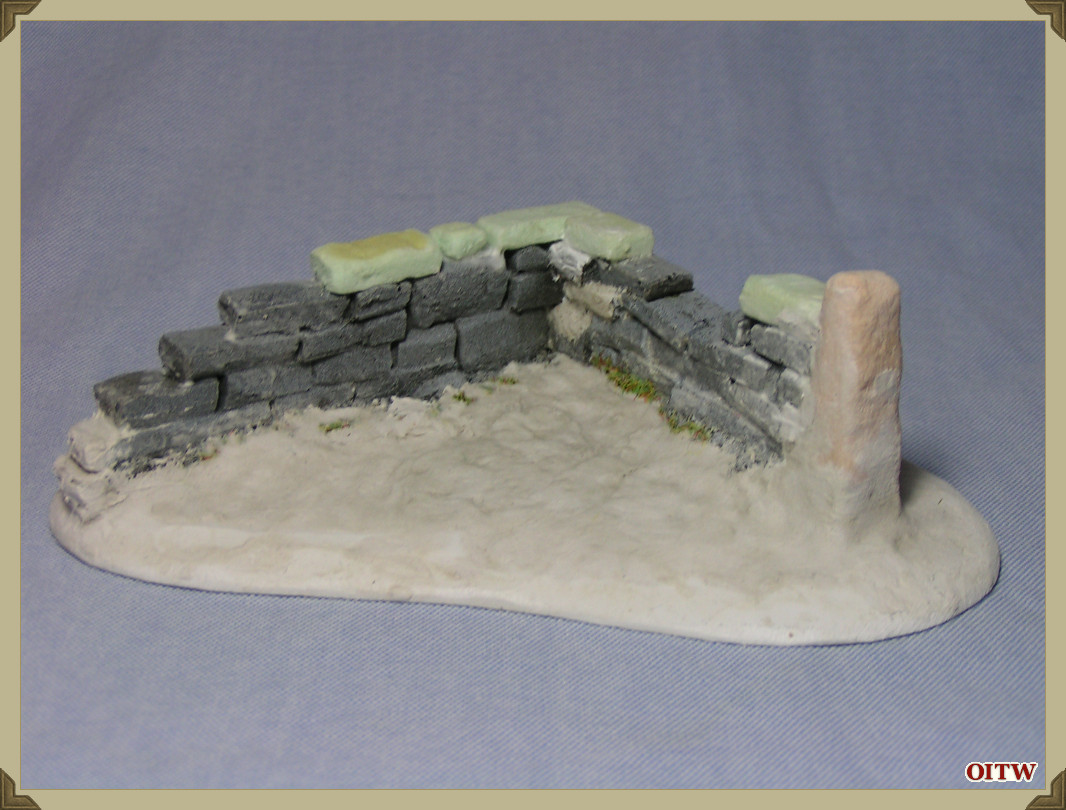
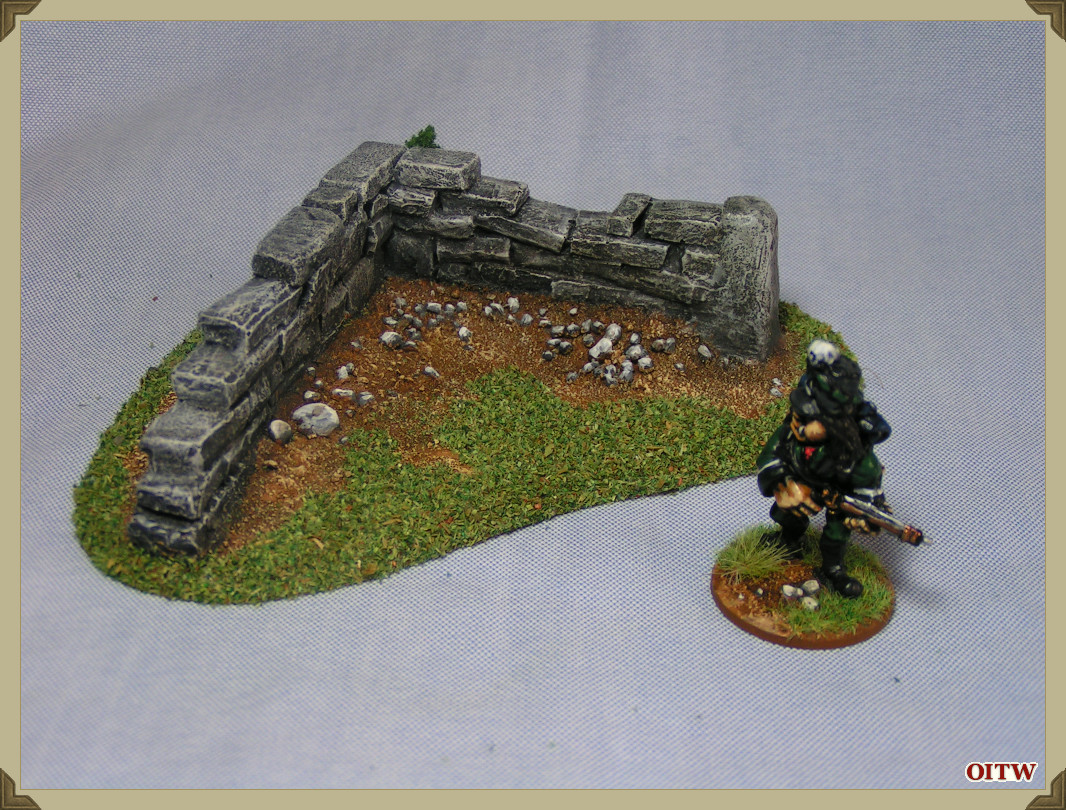
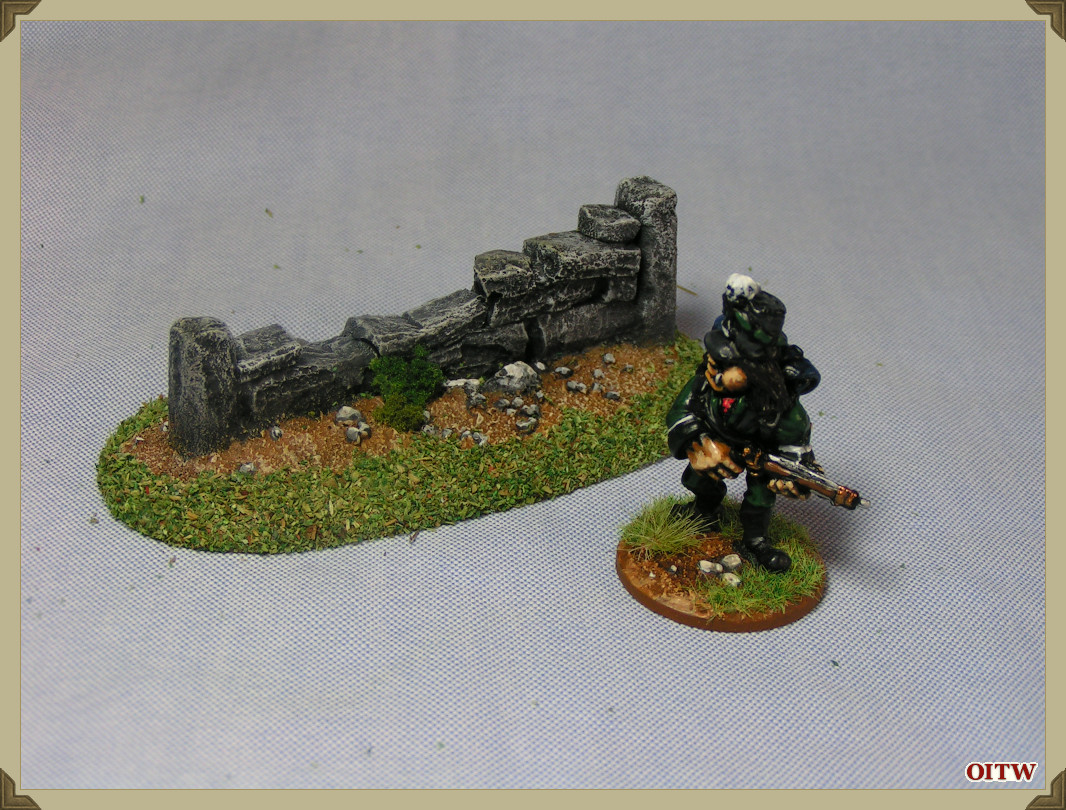
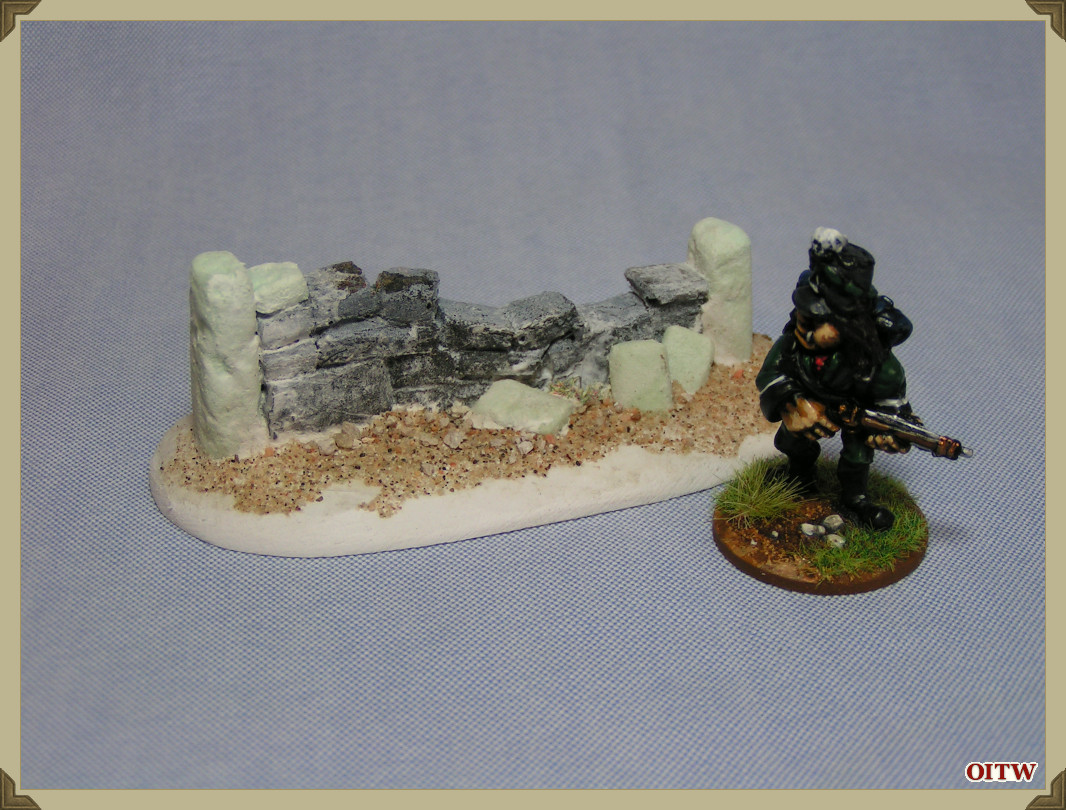
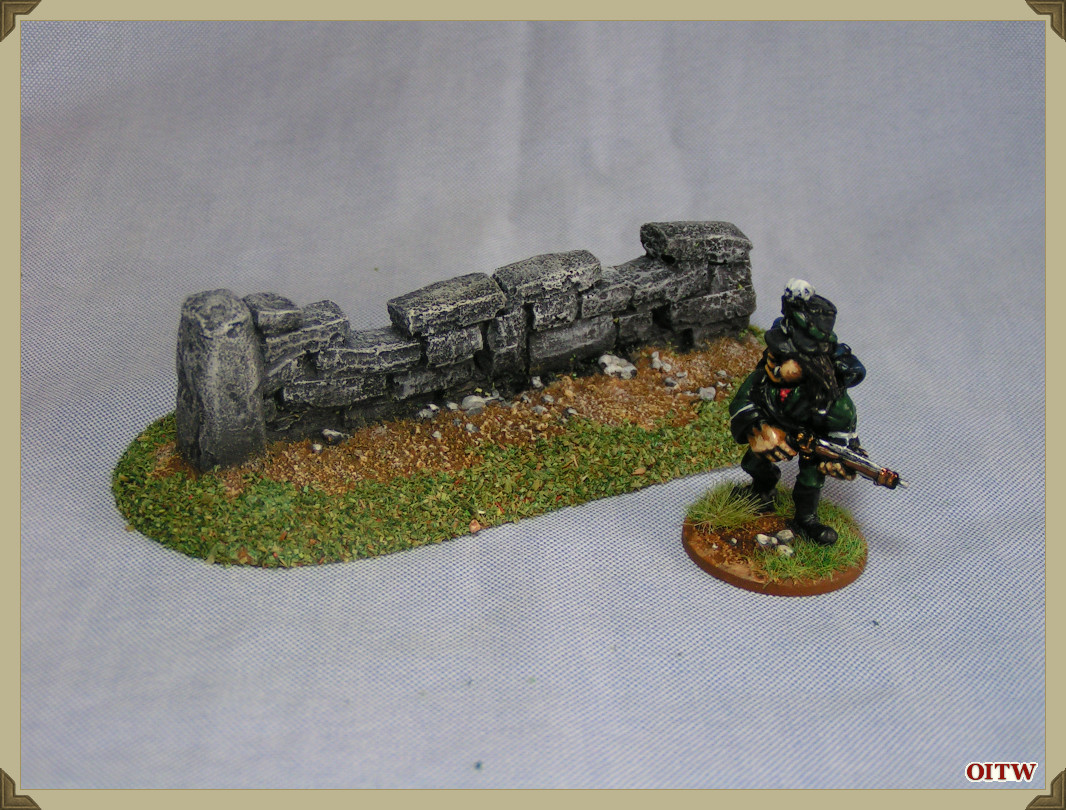
As well as this one piece of terrain I have also modelled these wall sections.
~
~
~
~
~
It will be obvious that my initial three sections of wall have now (magically) become five. Five totally unique sections for use with my Flintloque miniatures and terrain.
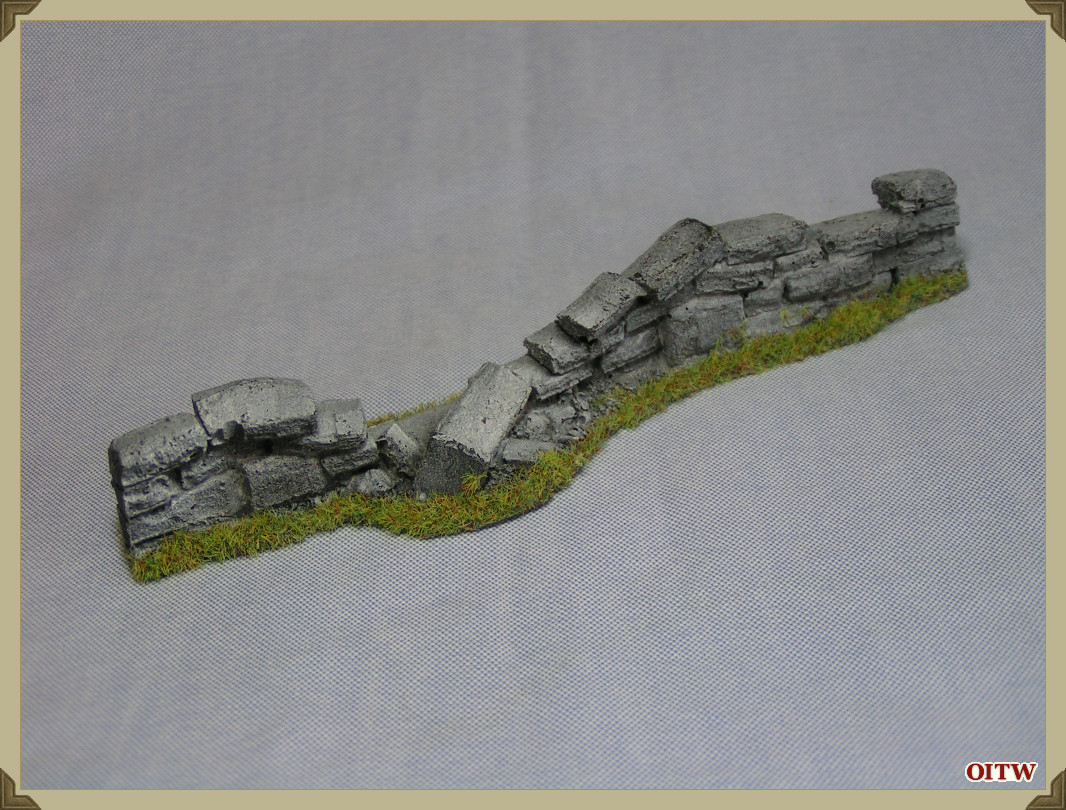
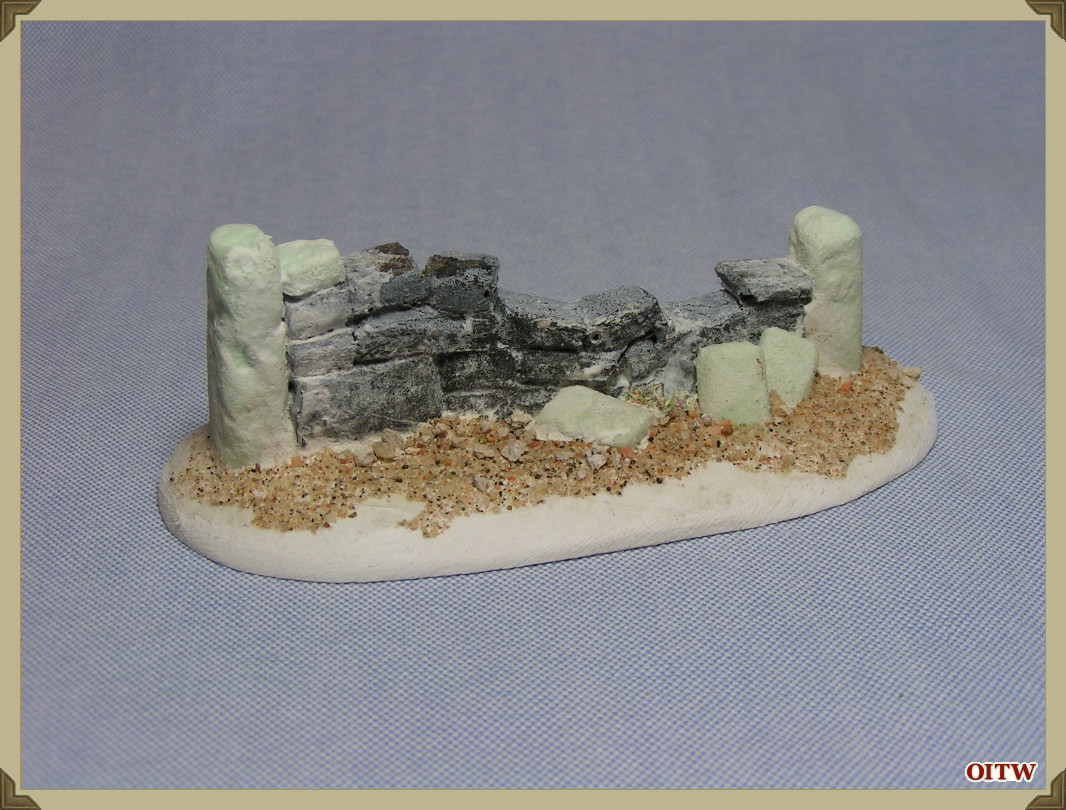
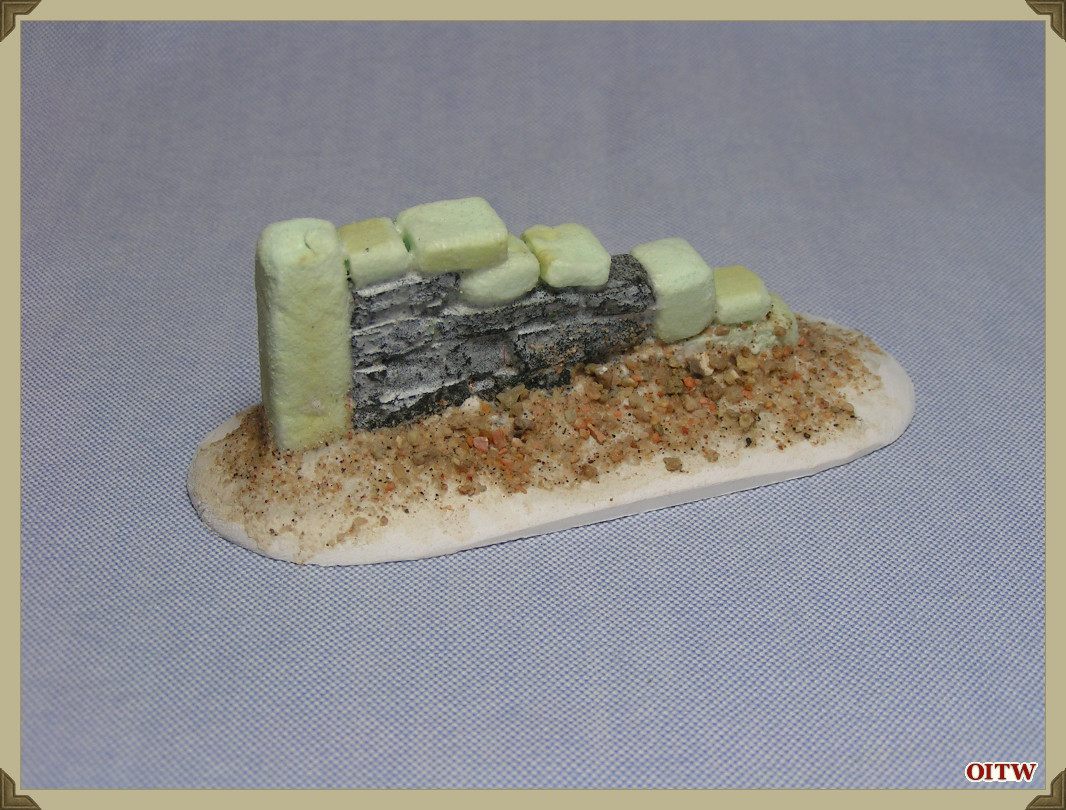
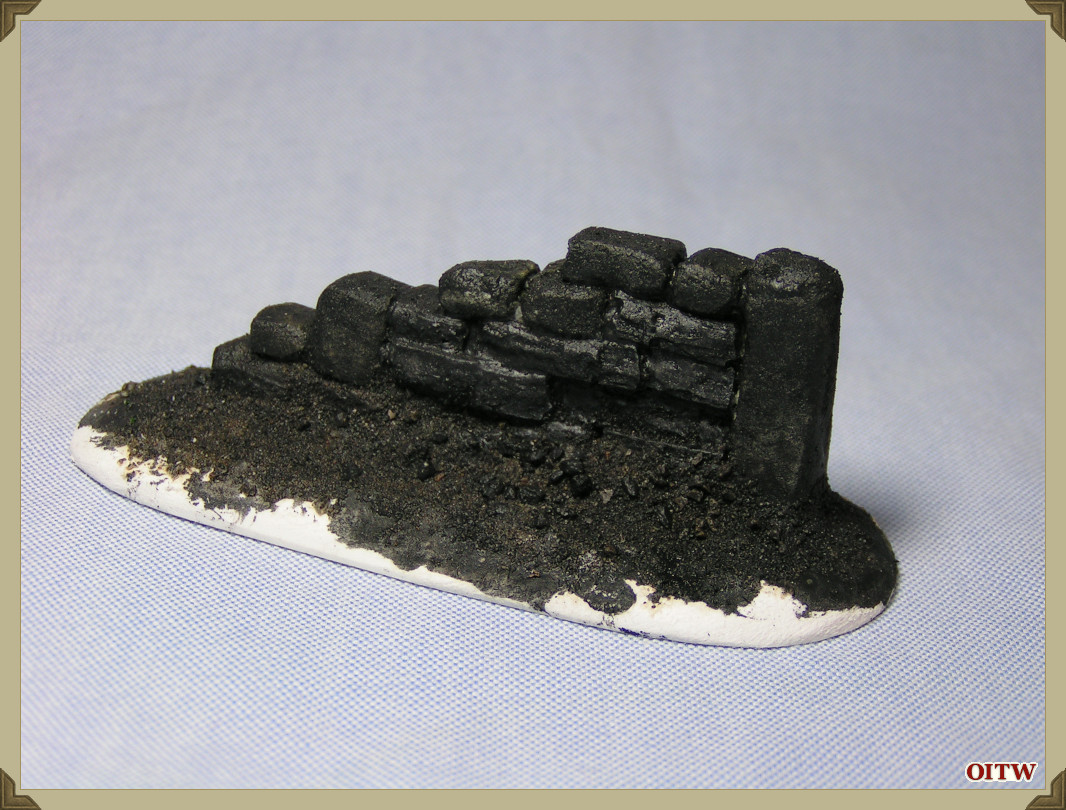
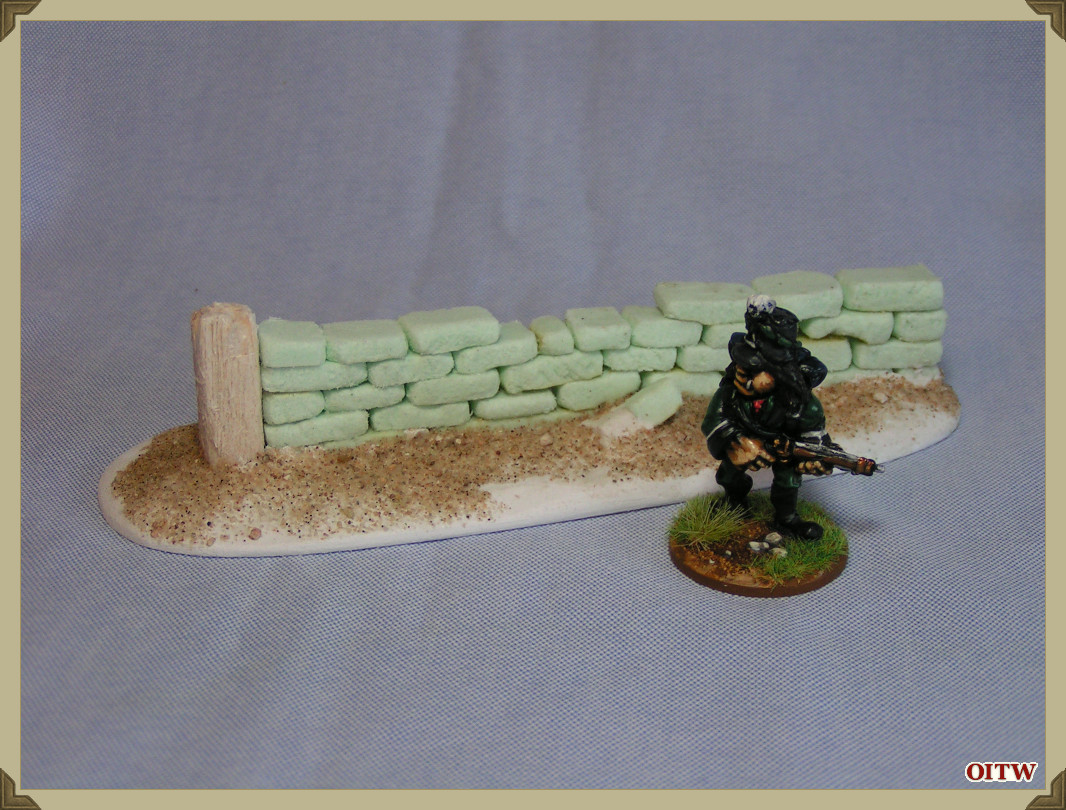
This final set of images show another wall, this time a wall that was totally ‘scratch-built’ from Green and Blue foam – but finished in exactly the same way as the earlier wall sections. You can read how I went about creating these bricks on Orcs in the Webbe in my article, "Building a Better Brick".
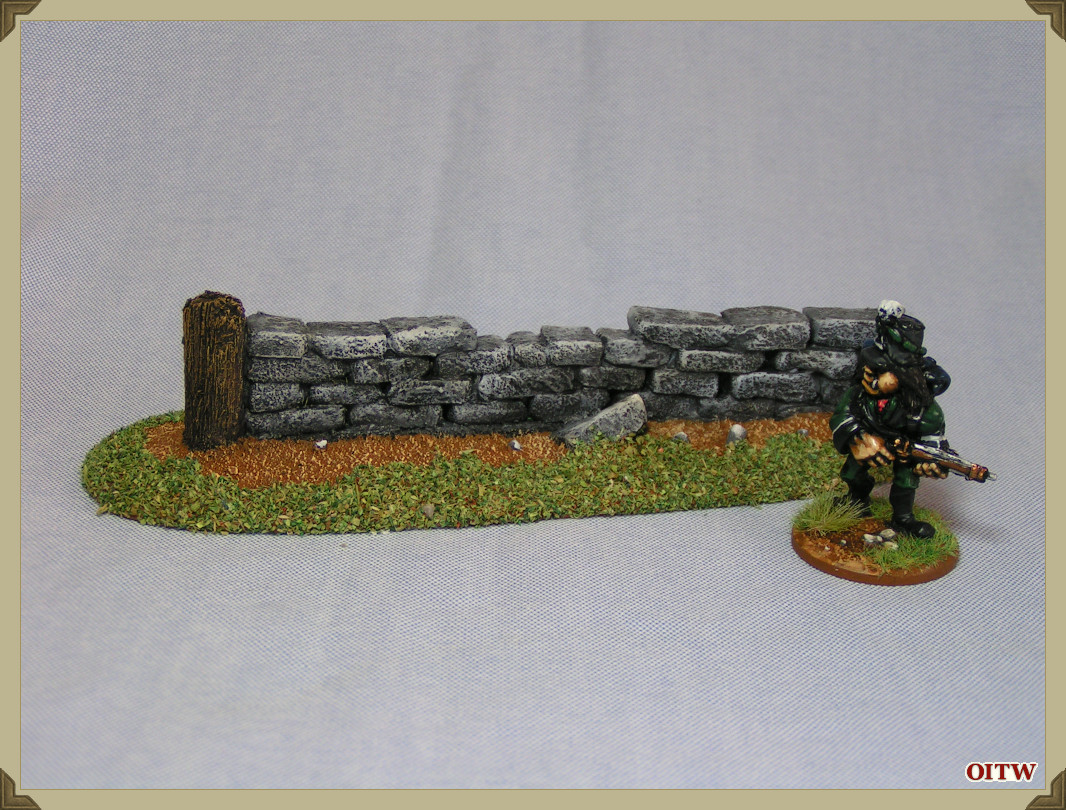
I find that basing my wall sections in these different lengths gives me the freedom to build enclosures in various configurations. I would hope that this simple tutorial would encourage others to build their own terrain, either modifying shop-bought items or totally scratch built.
~
Webmaster's Notes
This article was written exclusively for Orcs in the Webbe and was first published on the 2nd December 2014 as part of it's 2014 Advent Calendar.
You can see all of Tony's excellent terrain articles hosted on Orcs in the Webbe by clicking on the maroon tag just below and to the left.
~