![]() "Gnomish Houses"
"Gnomish Houses"
A Panzerfäuste Modelling Masterclass by Anthony Evans
The Anarchy of Anton, fastest painter in the West (of Leicester), returns to OITW with a step by step article on how to create Gnomish Houses for Hysterical Games' Panzerfäuste out of a certain fast food chain outlet's happy meal toys...
~
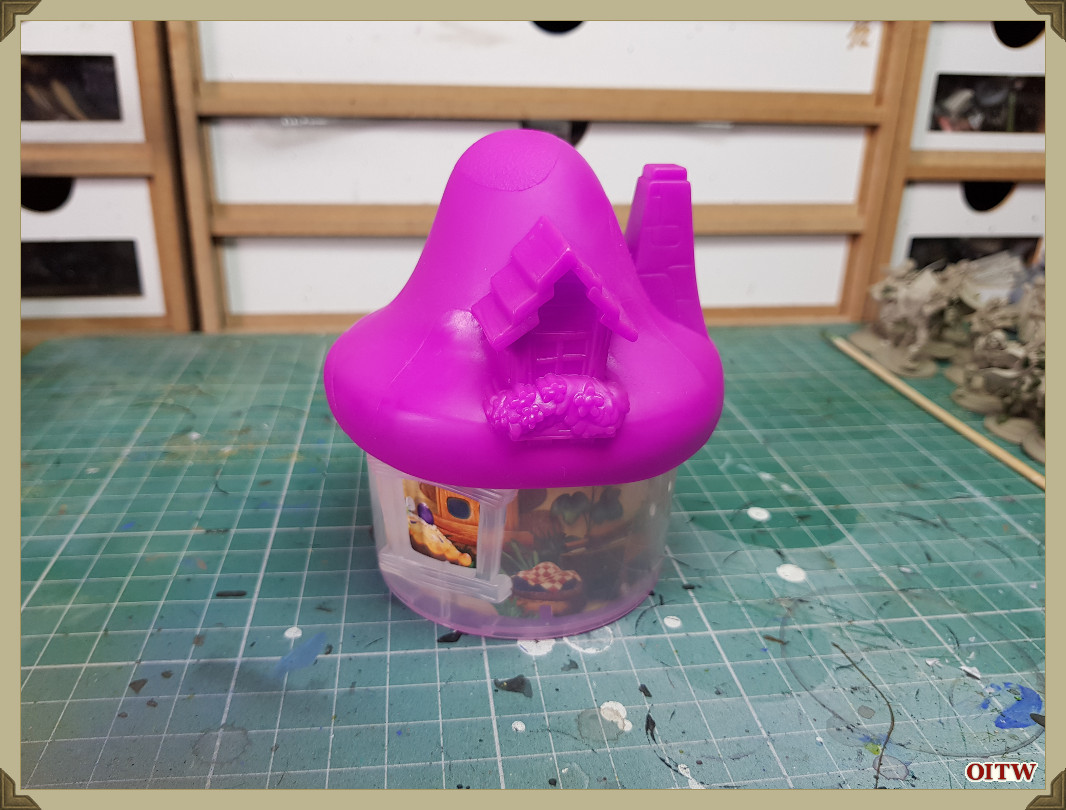
Time to go digging in your kids/niece/nephews/brothers/sisters toy box for Mc Donald's happy meal smurf houses....
Ever since the I Set eyes on the gnomes I loved the whole aesthetic of them and when Maccys did the houses for the smurfs movie I grabbed a bunch and decided to make a village out of them.
After kicking around for an awful long time I decided to bite the bullet and give them a crack!
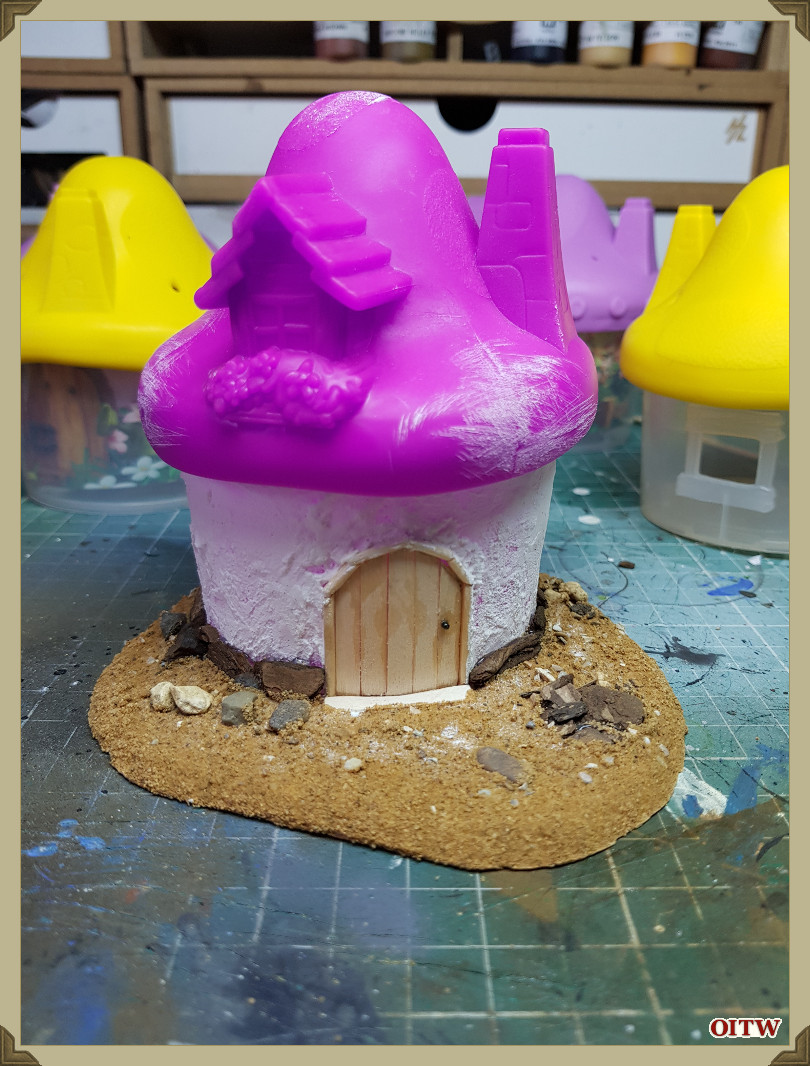
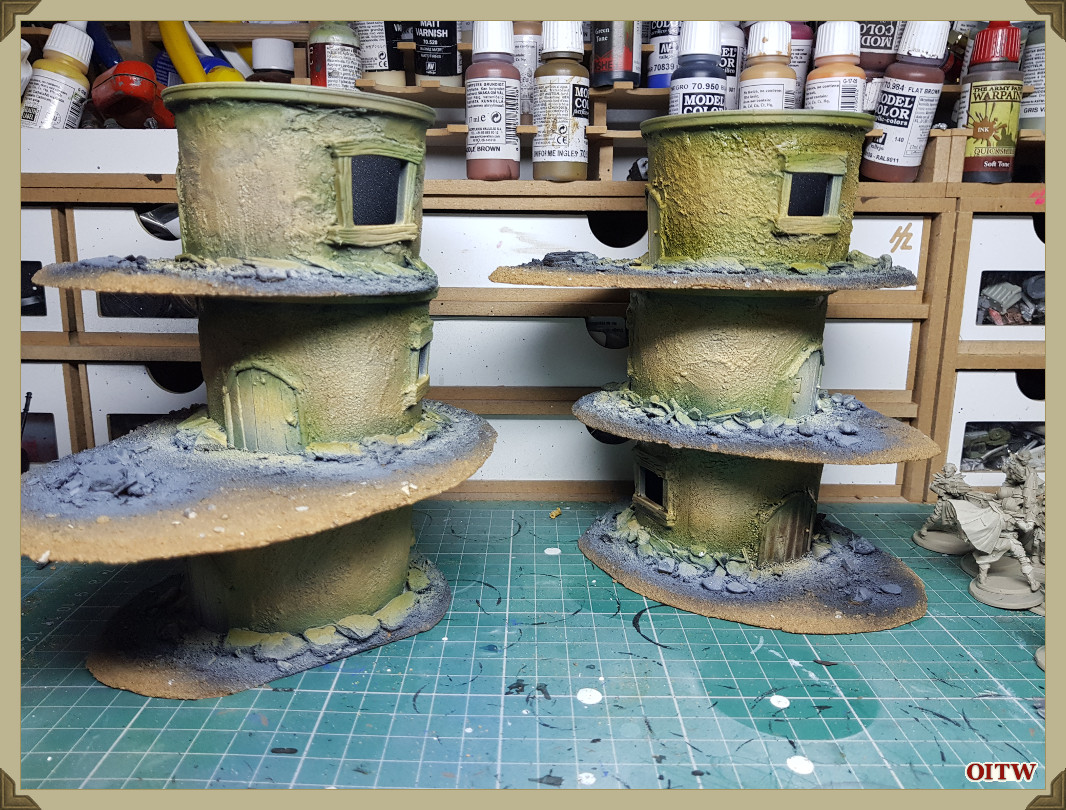
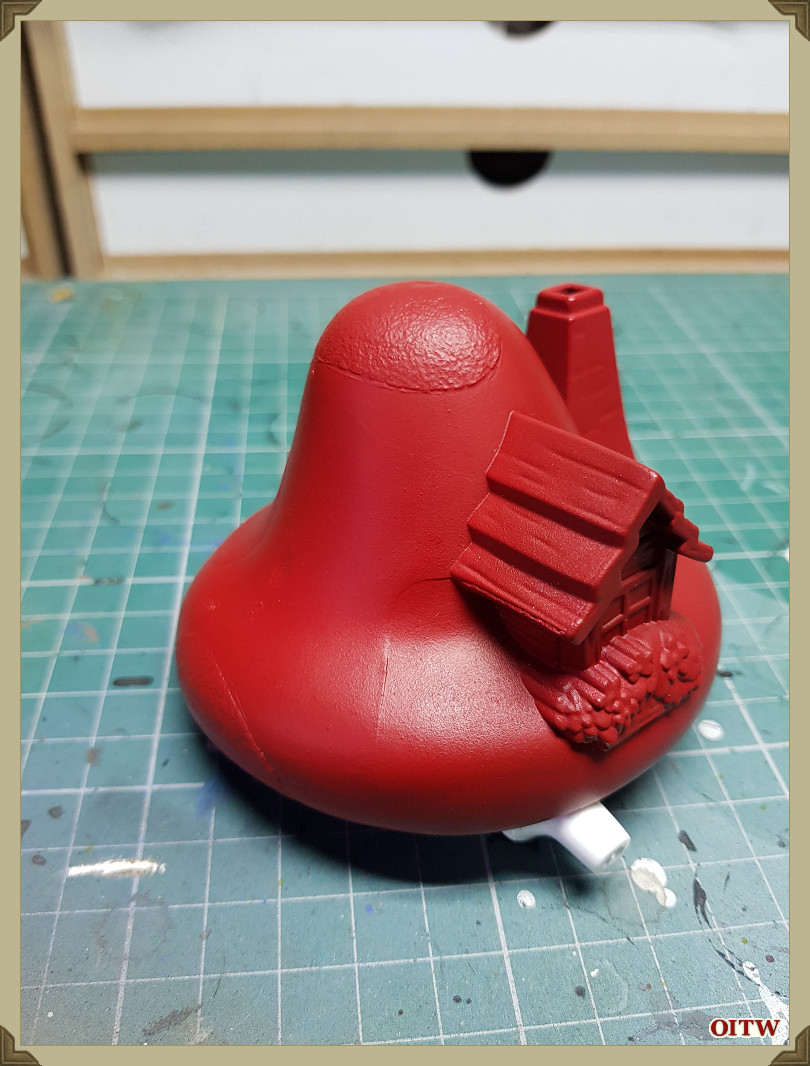
So how did I turn this....
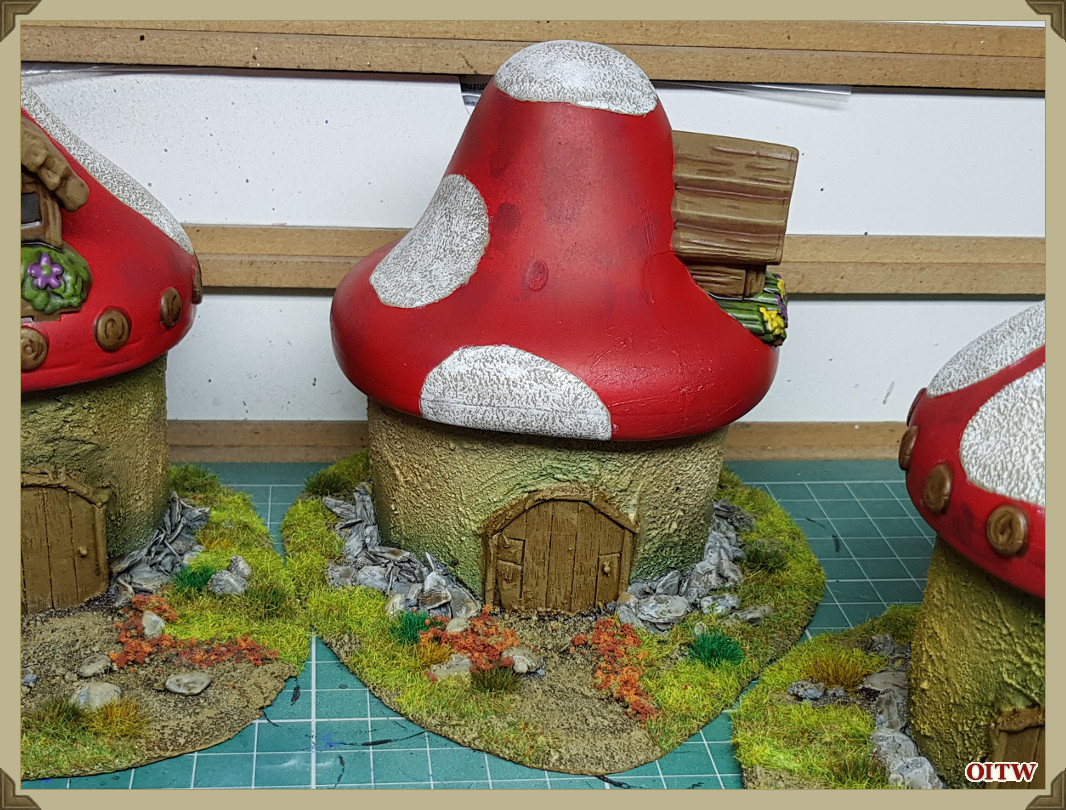
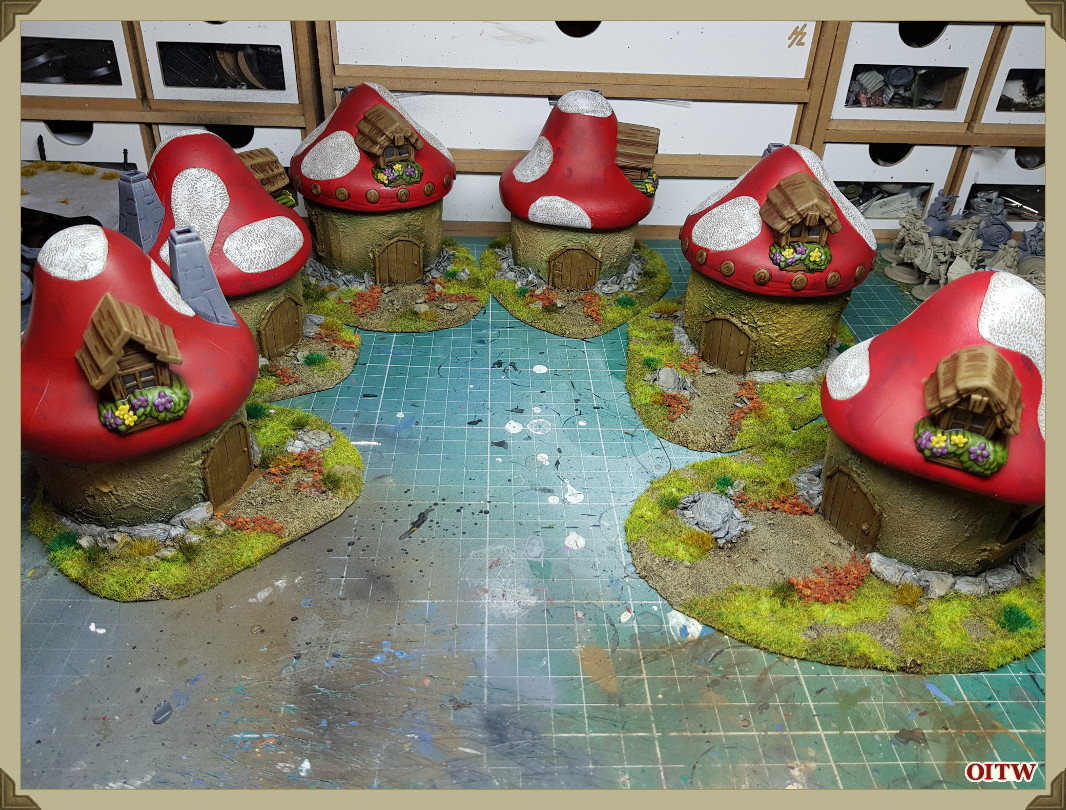
into this!
Modelling / Construction
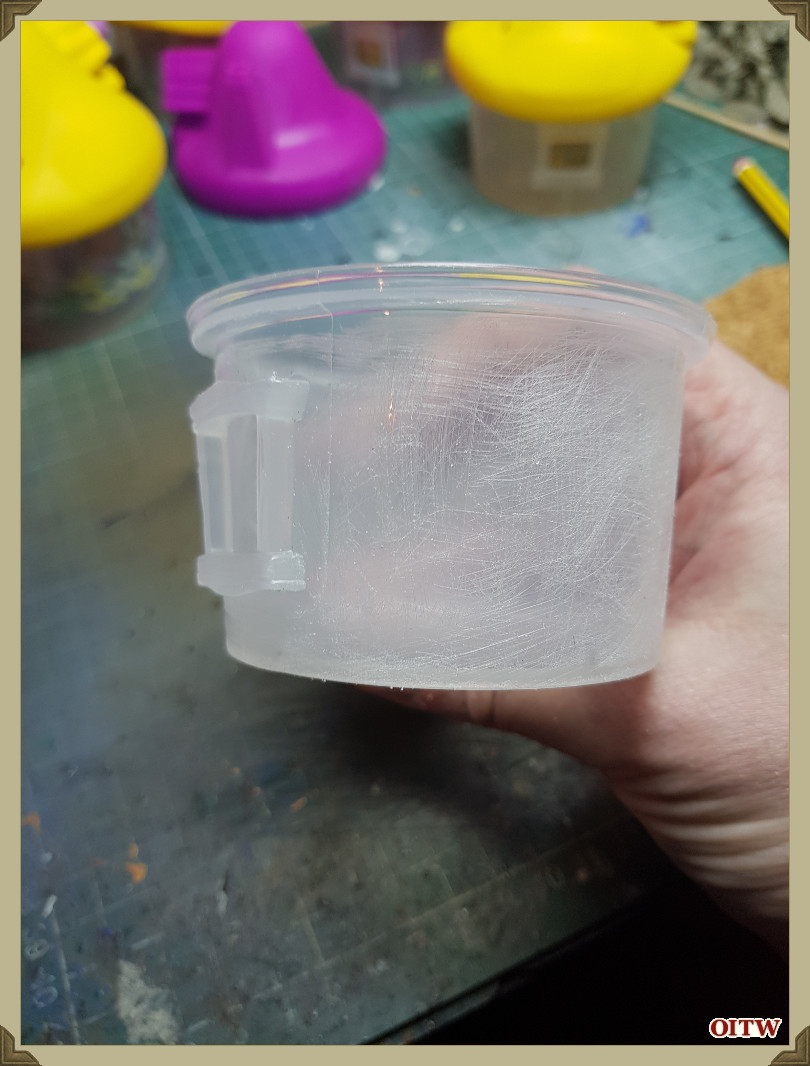
Step One:
To help with the filler to stick to the plastic I took a pit of sandpaper to it and roughed up the surface.
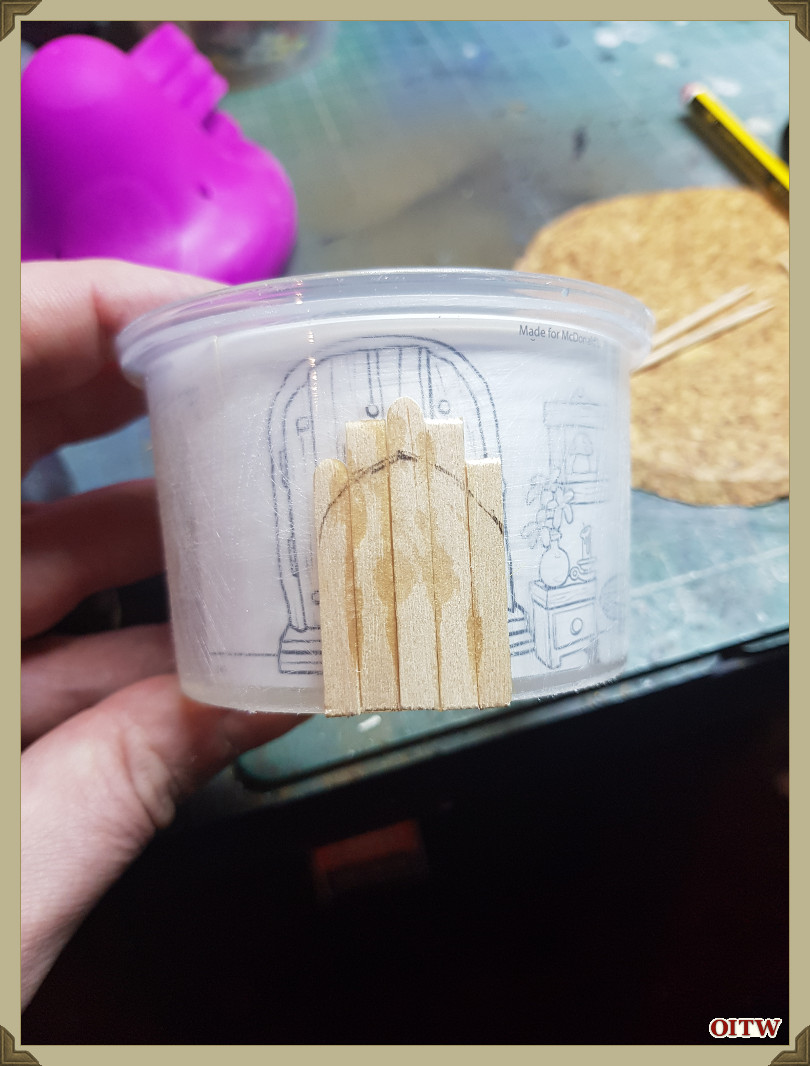
Step Two:
Get some coffee sticks from your local place, tend to grab a few extra every time so I've got a constant stash, then using a gnome as a size guide for the door I used a pair of clippers and cut them to length then used super glue to fix them to the outside of the house, but I let the glue dry in-between planks.
Once the glue had dried I then drew out the arch of the door way and cut it to shape.
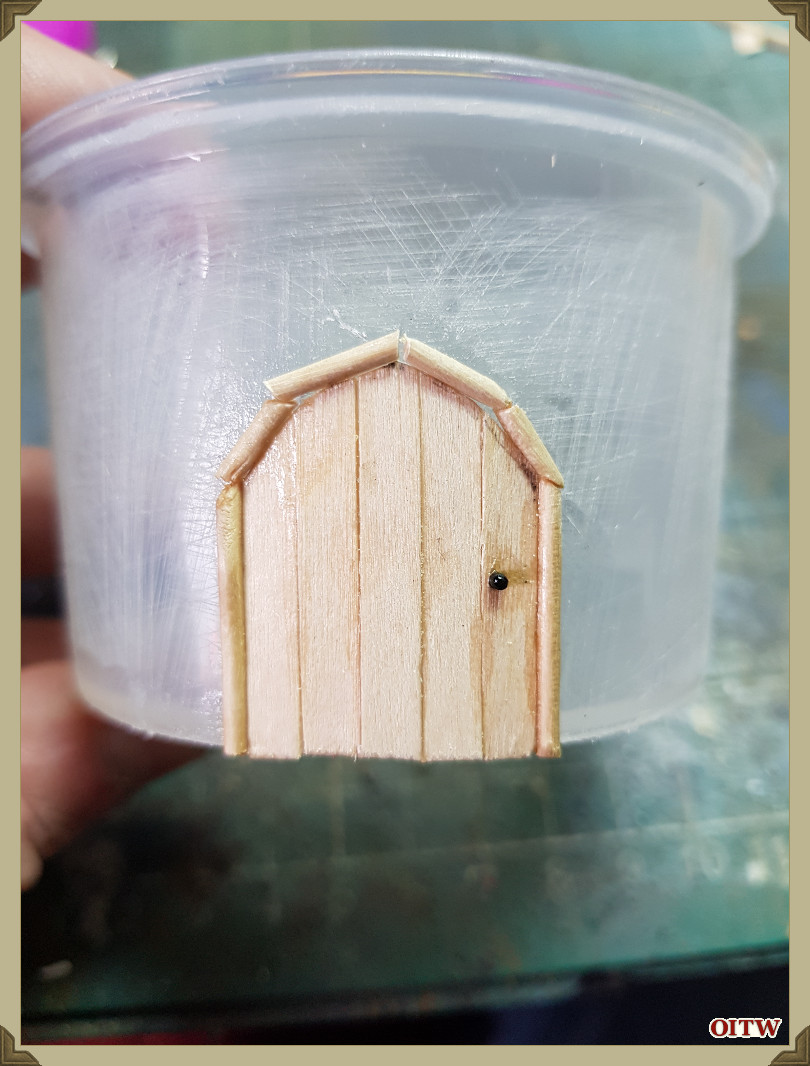
Step Three:
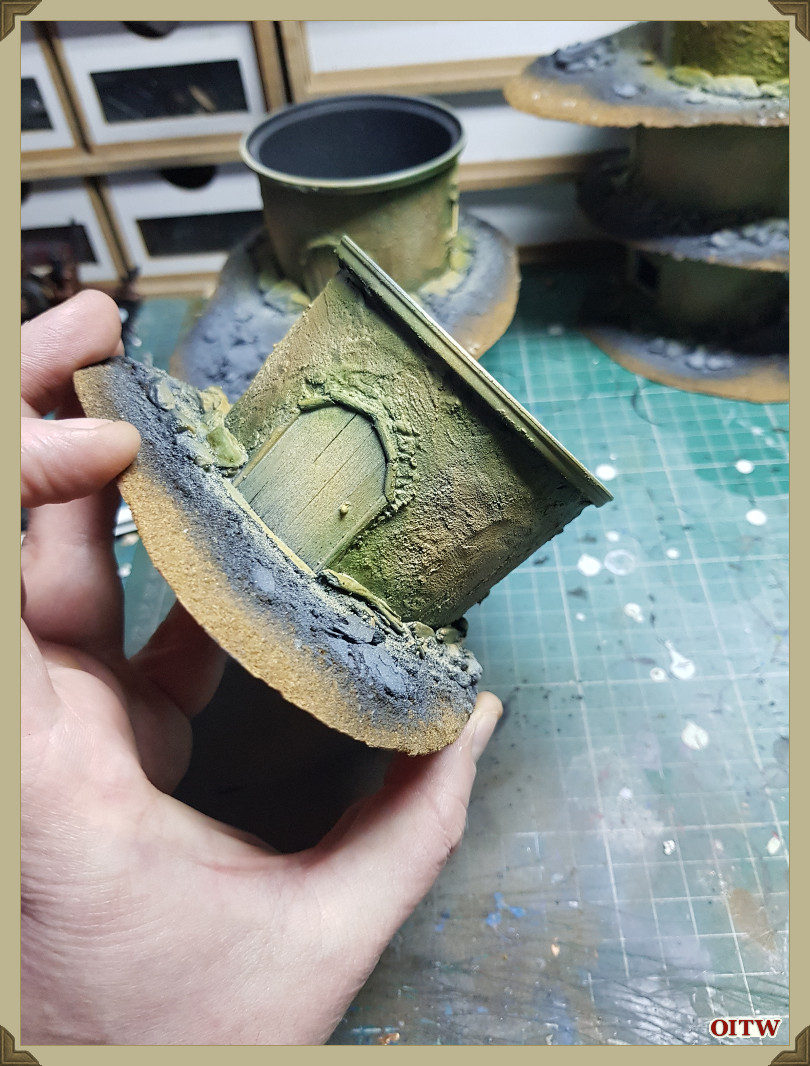
For the actual door frame I used toothpicks and snipped them into sections to go around the arch of the door, the hand I made from a hair clip end.
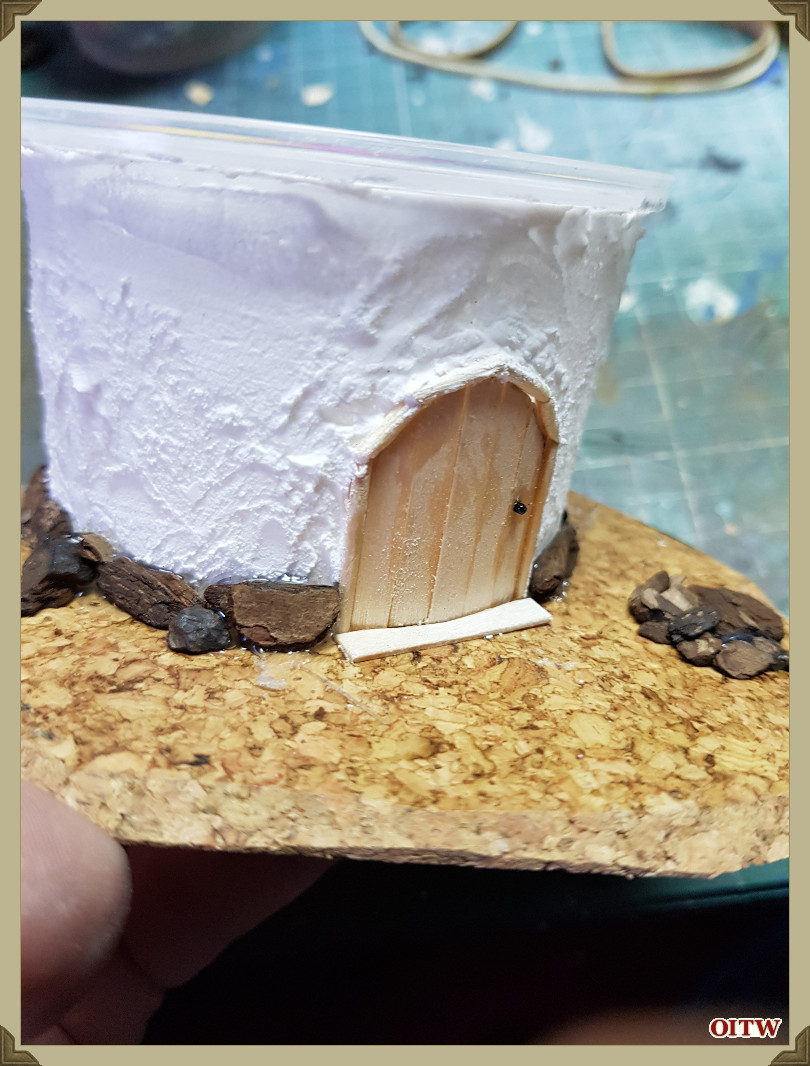
Step Four:
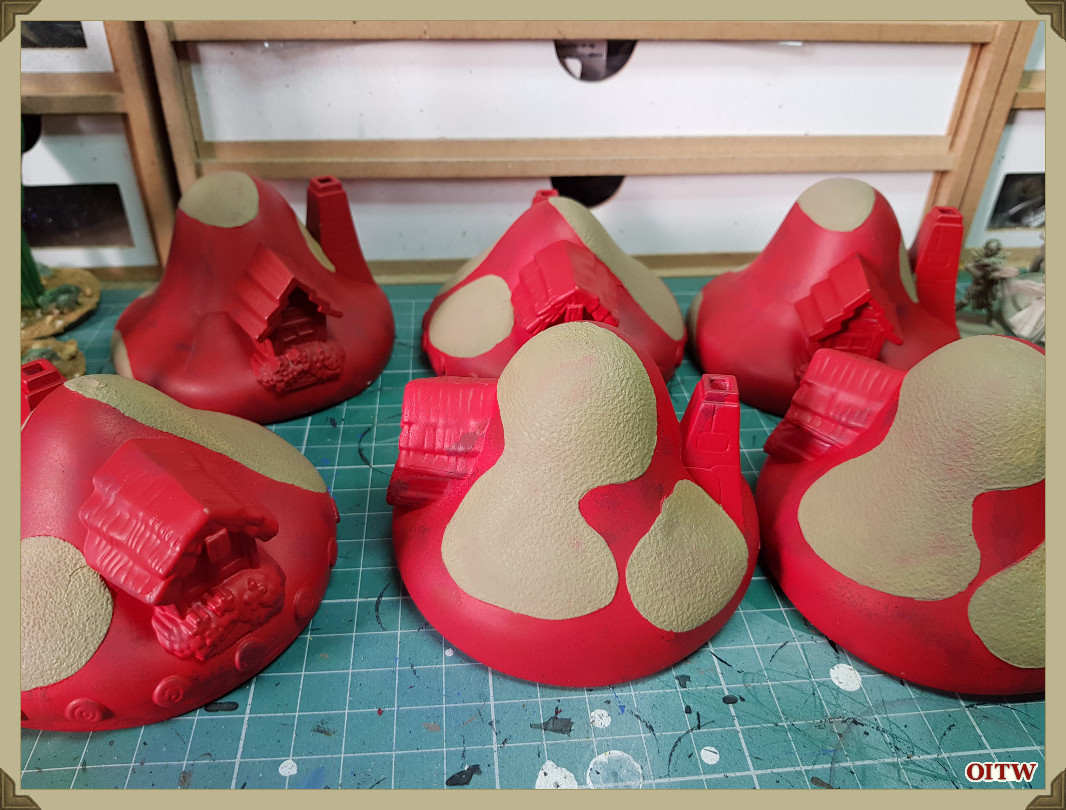
Once the door is completely dried then I got some filler and smeared a thin layer on the outside plastic I went with a bit of finger action and made it look nice and rough, whilst I was doing the walls I also filled in the holes in the roof.
The house was then glued to the cork board base with a hot glue gun.
The step was made from a wooden coffee stirrer cut with a curve and put straight down onto the cork board base.
Then once the filler was nearly dry I got some bits of bark that I "acquired" from a local playground and used the small bits to go around the edge of the bottom of the house.
Step Five:
Throw your basing material onto the cork base and its ready for painting!
Painting
So striking whilst the iron was hot I decided to splash some paint on these before they get put in the dreaded "to do" pile!
However I thought I would try something different with the scenery and decided to break out the airbrush and see what finish I could get on the model.
Now from playing around with the air brush on a previous piece for the Derby show I wouldn't recommend trying to shoot normal household paint through your airbrush! It ended up costing me a new cone!
Anyway back on track!
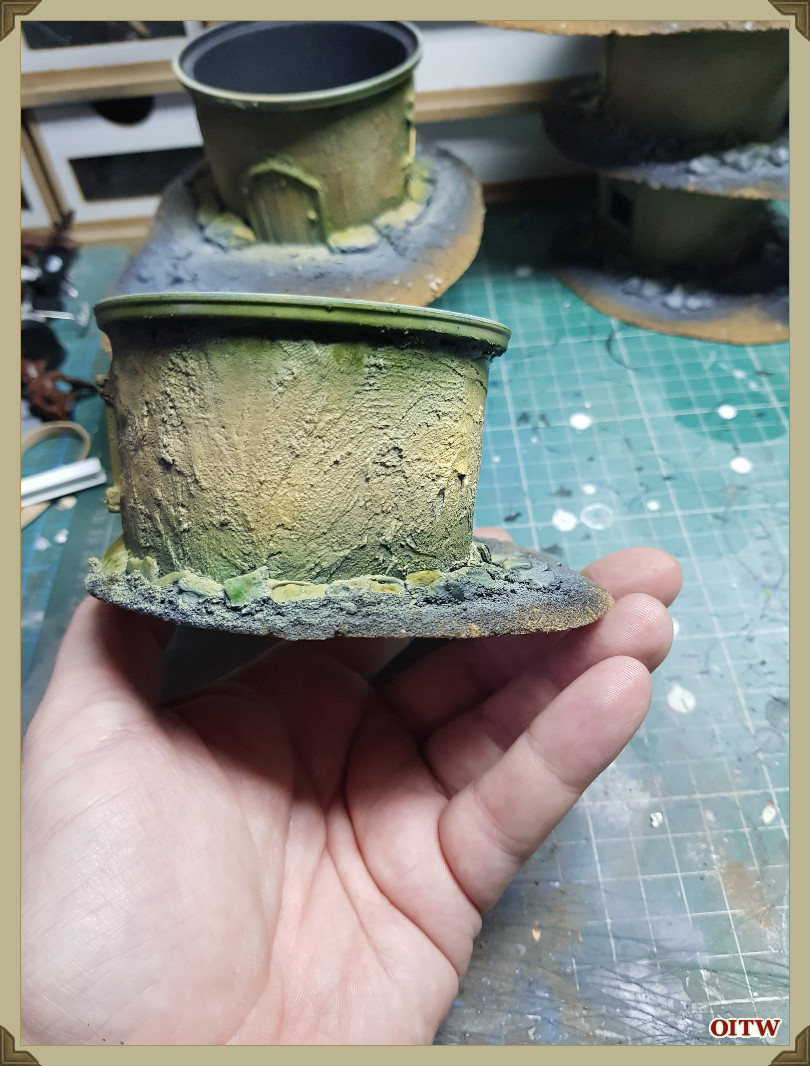
I undercoated the main structure black including the inside, then when that was dry I used a grey colour at an angle so that it would leave shadows of the texture showing, I then went over the grey with a white doing the same technique, its "official" name is zenith highlighting and if you have a look on you tube and the like you can find all sorts of info on this.
Once the White was dry I hit the model with a Khaki grey colour that I thinned down and shot through the brush, after that I went into experimentation mode and put soft wash though the brush which to my surprise worked really well, now I'm not too sure if it was down to the material or the uneven surface but it worked great and I'll certainly be giving that a crack in the future.
To give the main structure some weathering I grabbed a green ink and shot that through the brush as well along the top and bottom as well as round the window and the door.
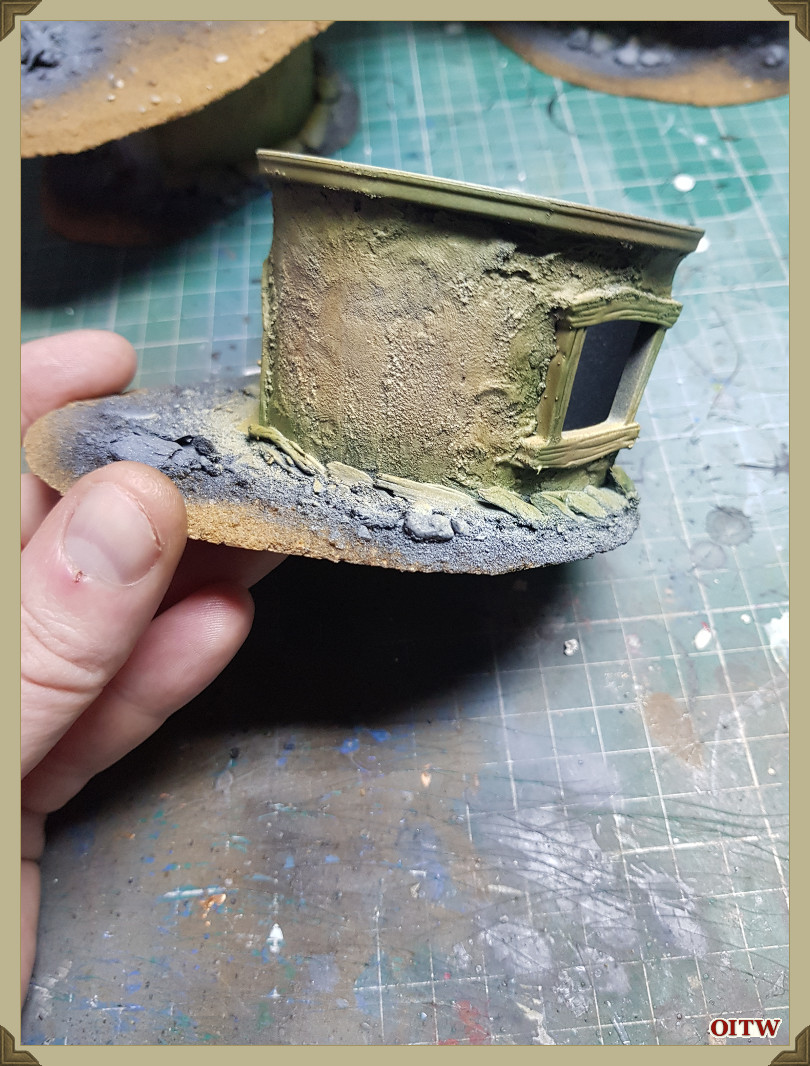
The massive advantage that you have when using the airbrush is batch painting suddenly becomes very very easy!
All that was needed to be done on the main structure was the window & door which is a simple case of a dark brown with a couple of dry brush high lights and a wash to make it pop,
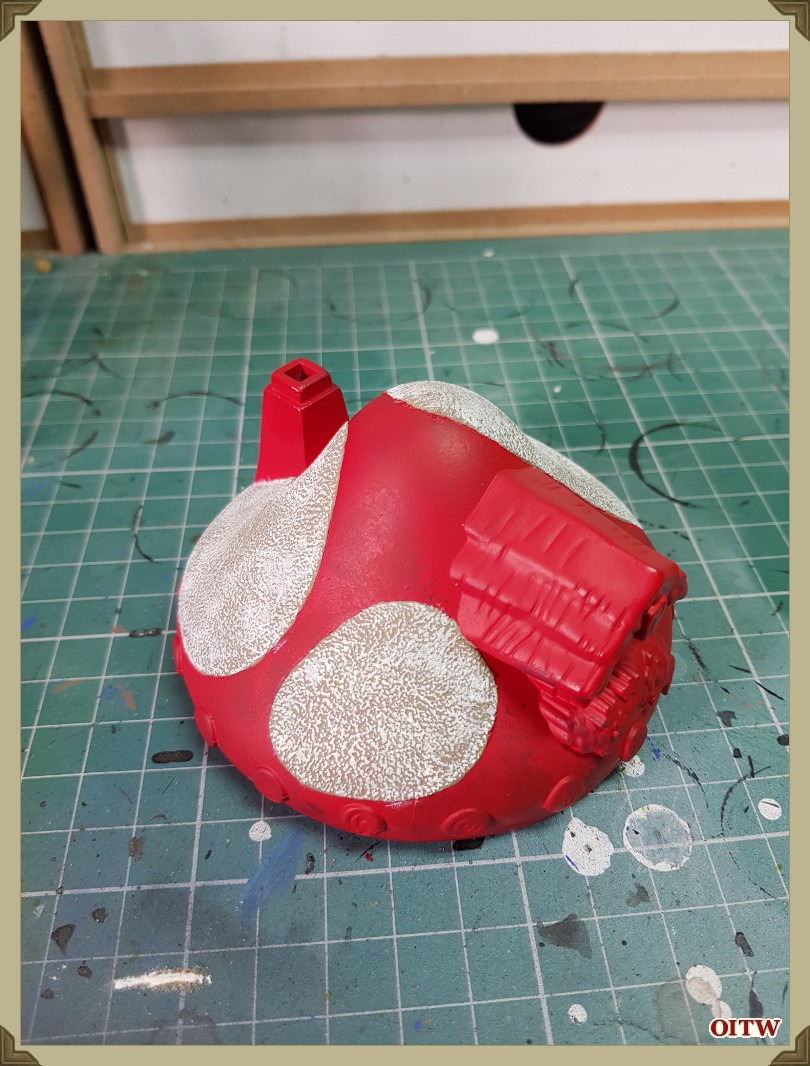
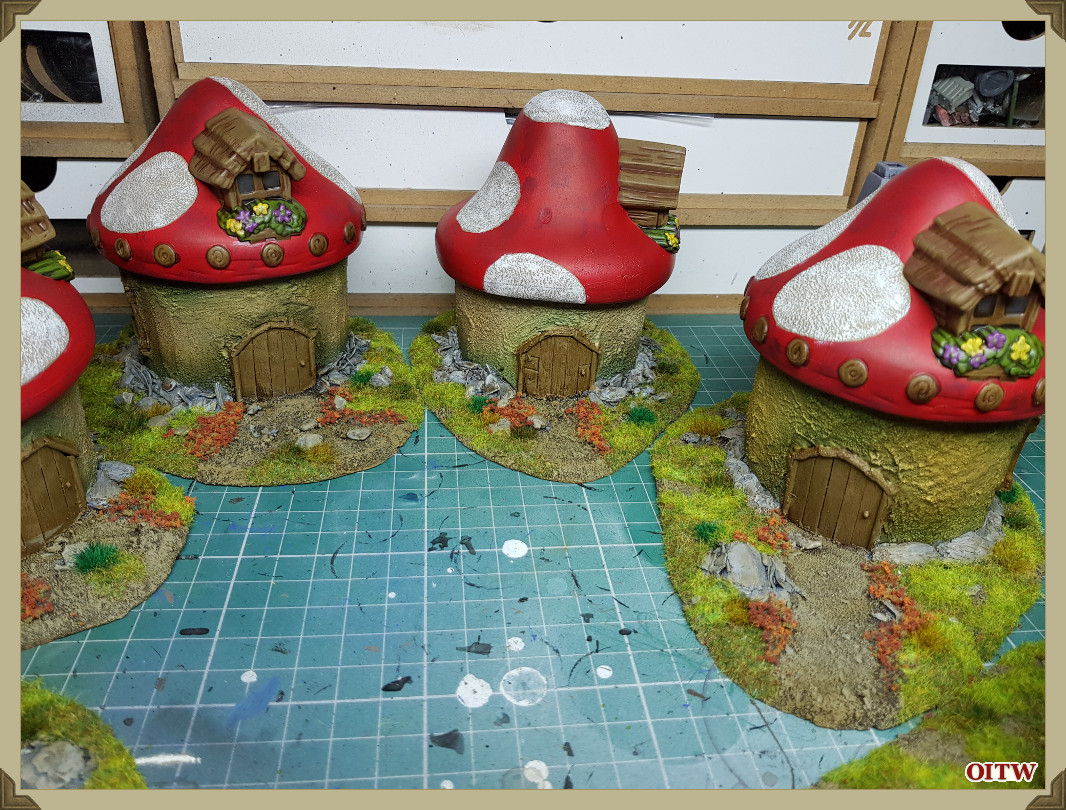
Then it was onto the roof of the houses, Now this was a bit trickier than I thought it would be due to the material. For the main body I prepped them with the sand paper however on the rooves I was simply spraying straight onto the plastic, now even though it was a undercoat that I've used on a number of occasions the paint was peeling off when I went to mask off the white, so back to the drawing board and I deployed the trusty can of army painter red and hit them with that.
This seemed to have the desired effect and I sponged a couple of different shades of red onto the roof to break up the colour, once that was done I used a khaki colour to block out where the white areas where going to be.
Once the khaki was dry then its a simple case of high lighting the khaki with a ivory colour, now if you do manage to get your hands on the toy houses that I was using then it has a rough surface on the white areas so makes your life very easy!
Then it was simply a case of picking out the wood and the green for the window box, paint the flowers to your desired colour and using a soft wash to pick out the shadows.
For the chimney I did a dark grey colour and did a gradual high light with the finial one being only at the top and the edges.
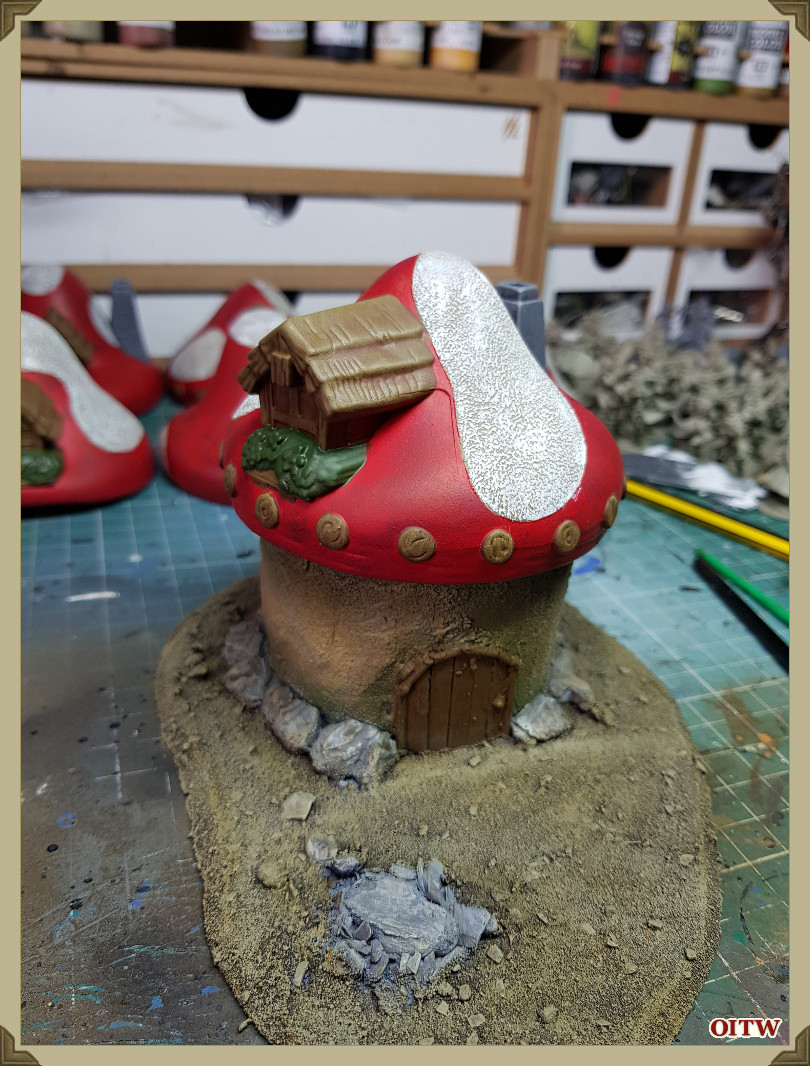
After that its simply basing the house, I used homemade tufts that I made on my flock box and a couple of different shades of static grass with some clump type scatter for the edges of the path leading to the door.
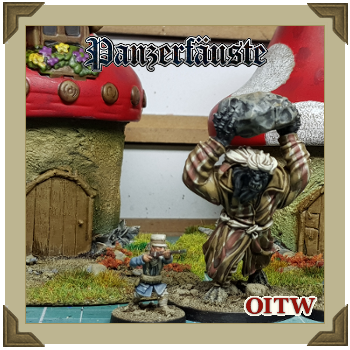
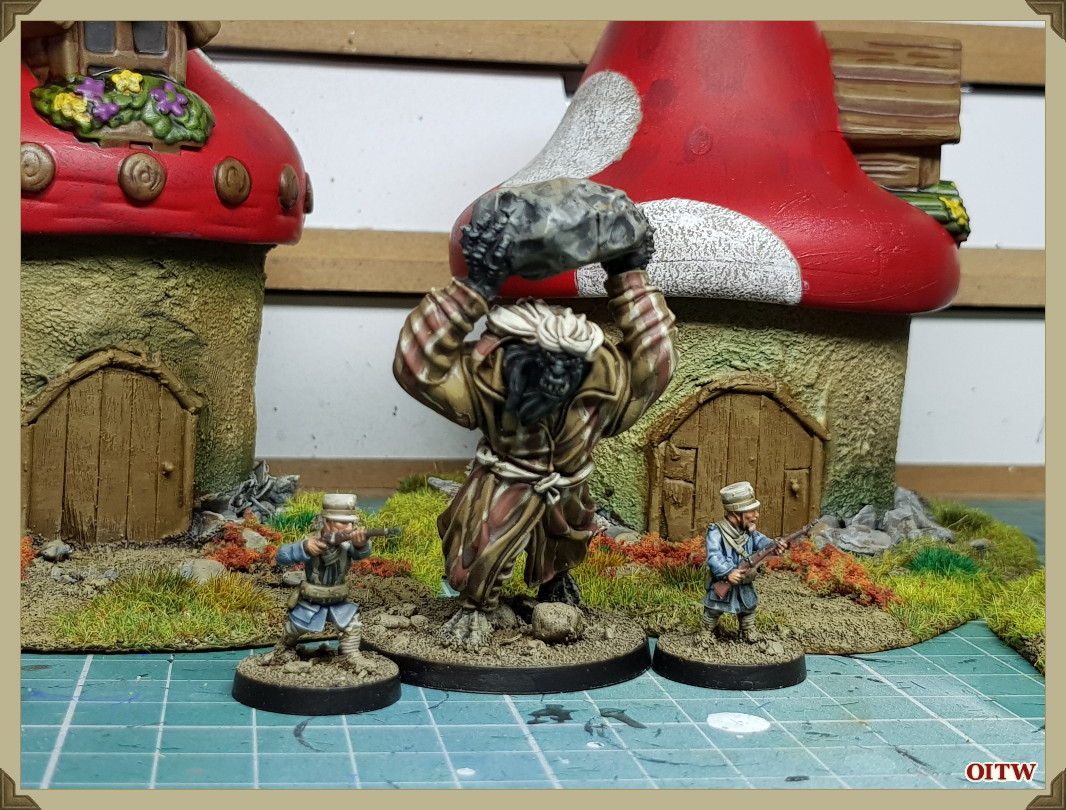
And as an idea of scale here's a brute and his body guards, perfect for some FISM (fighting in someones mushroom) or FIBUGA (fighting in a built up gnome area)
~
Webmaster's Notes
The above step-by-step guide was exclusive for Orcs in the Webbe and was first published on the 10th December 2017 as part of its 2017 Advent Calendar.
Ant's brilliant painting and modelling blog can be found here (http://toomuchmetal.blogspot.co.uk/)
You can see more of Ant's tutorials right here on Orcs in the Webbe by clicking on the maroon tag "Anthony Evans" just below.
~