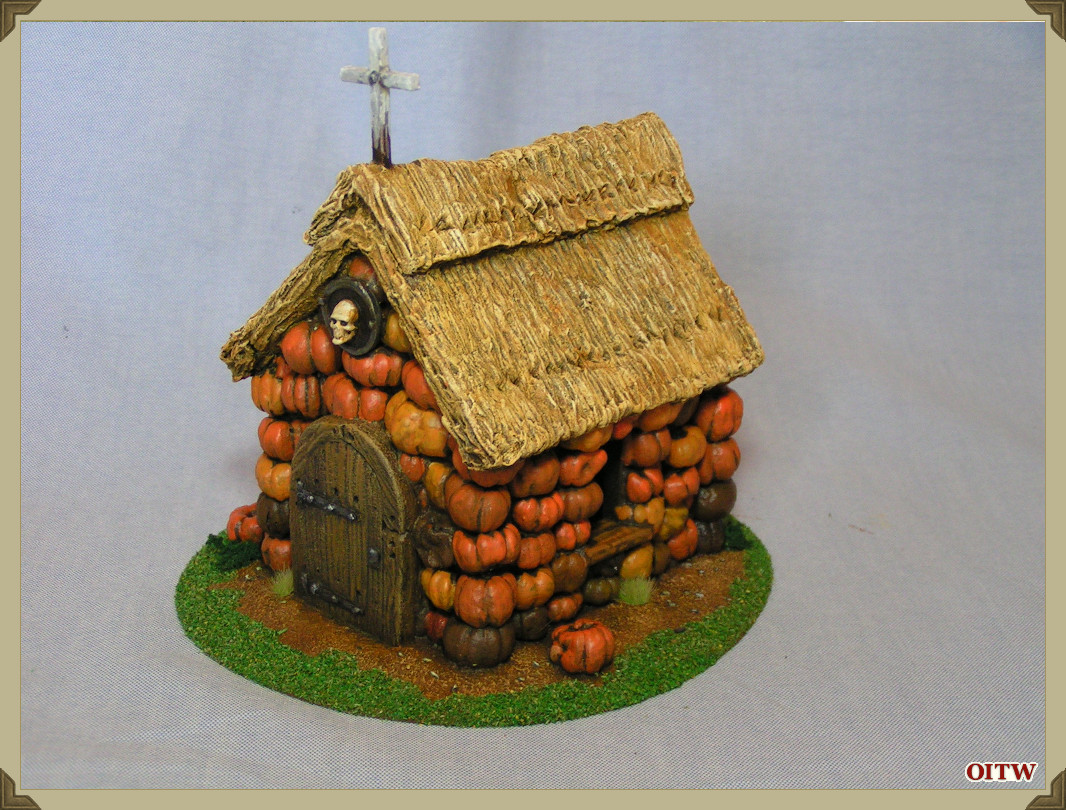
![]() "Uncle Midnights Pumpkin House"
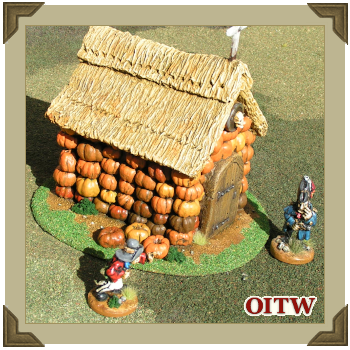
"Uncle Midnights Pumpkin House"
A Modelling Masterclass by Tony Harwood
It's All Hallow's Eve and that means only one thing here on Orcs in the Webbe. Master modelmaker Tony Harwood has something special for us. This year he shows us how to construct a wonderful building for your games of Flintloque...
~
It has become something of a tradition for me to write a short story or ‘how-to’ article for Orcs in the Webbe on All Hallow’s Eve and 2019 is no exception. This year, instead of a short tale, I have produced this tutorial showing how I build a Deadloque themed, pumpkin build hovel for use with my Flintloque/Deadloque miniatures.
Regular readers of OITW will know that I have in the past produced some very unusual Flintloque themed structures, a Kennel shaped barn, a Dwarf lager, a Gingerbread cottage and a hen house for were chickens to name but a few...
Planning
The model is based on a structure I first saw on the Internet – specifically Mr Bones Pumpkin Patch (for more details see this link; https://mrbonespumpkinpatch.com/?attachment_id=1344) although any Google search for Pumpkin Village will supply you with loads of similar inspiration.
As with most of my scratch built terrain it started with a sketch. A rather unusual building – even for me!

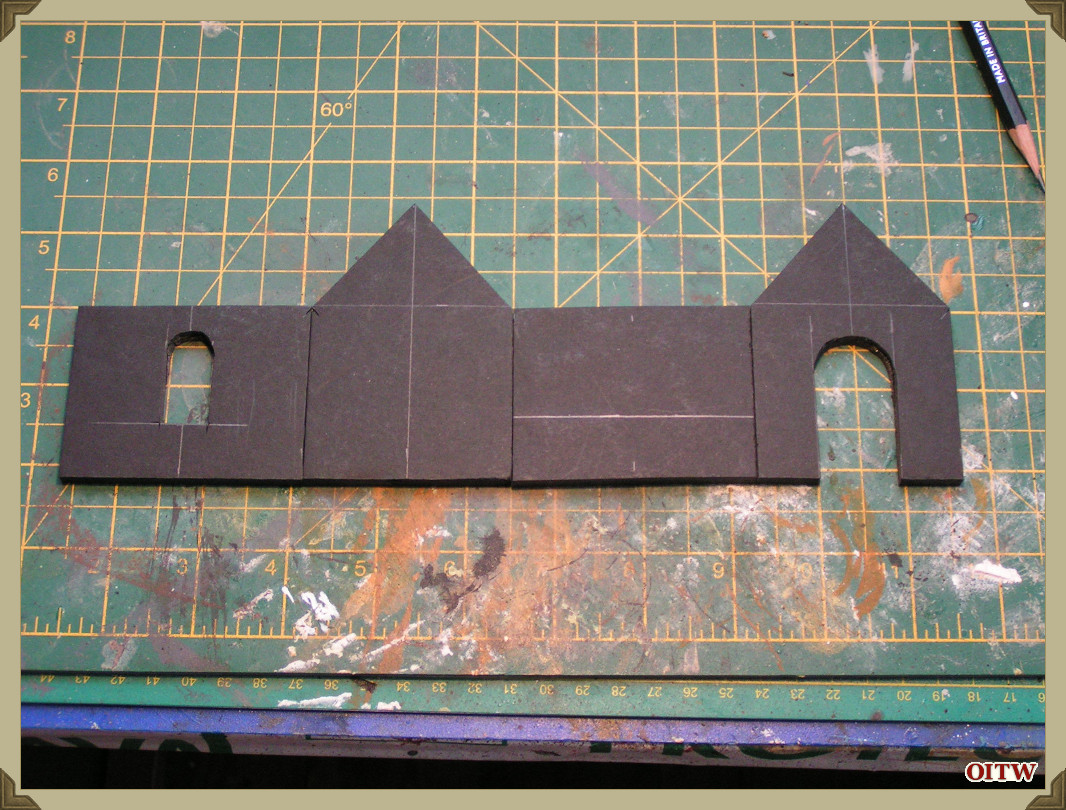
Construction
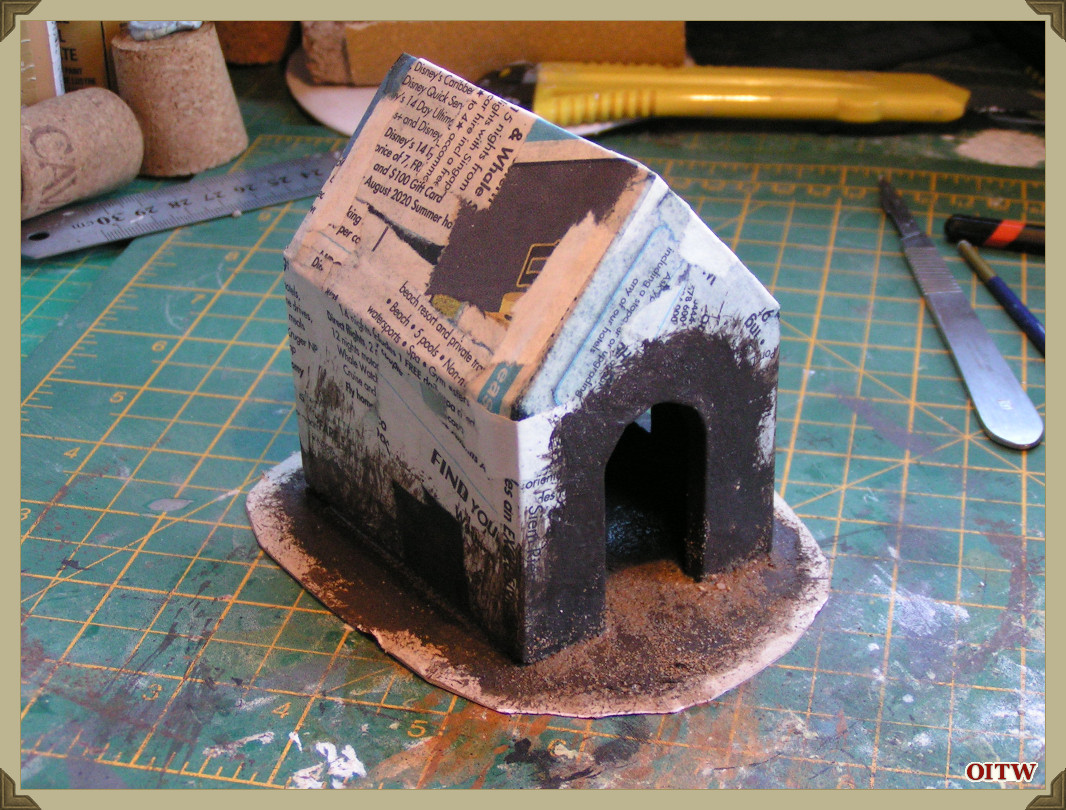
The basis of the building was some black foamboard, cut to shape with a snap-off bladed knife.
These pieces were then glued together with my hot glue gun.
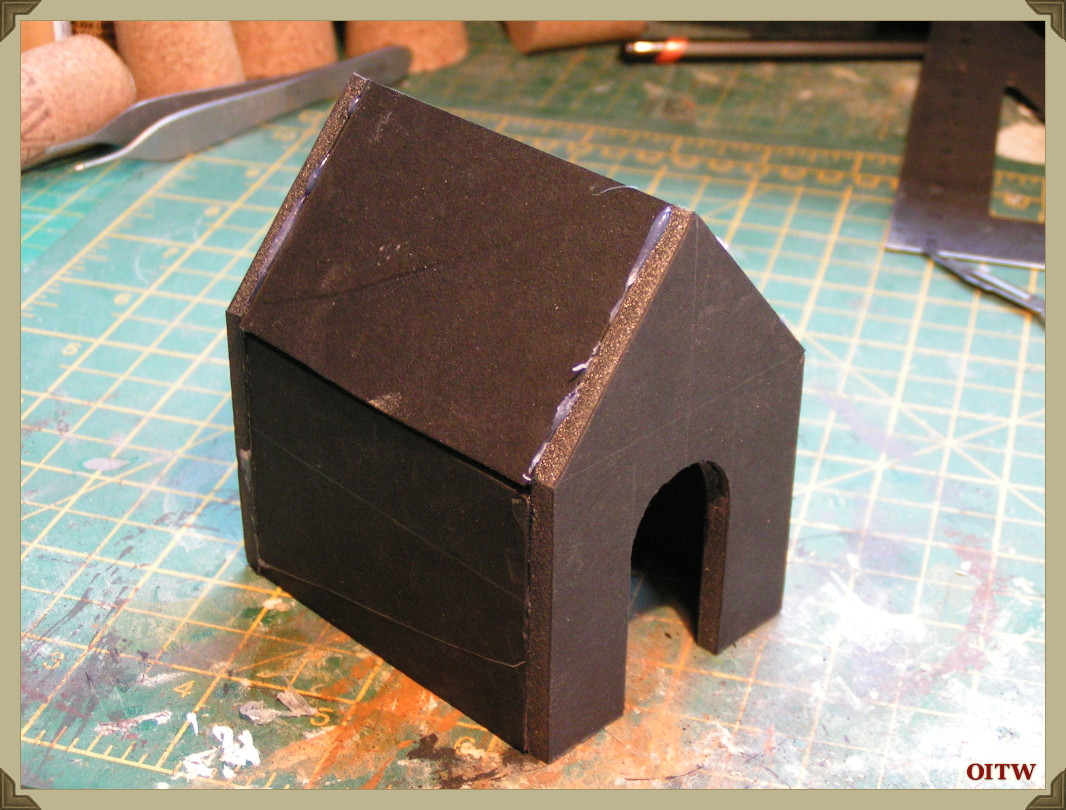
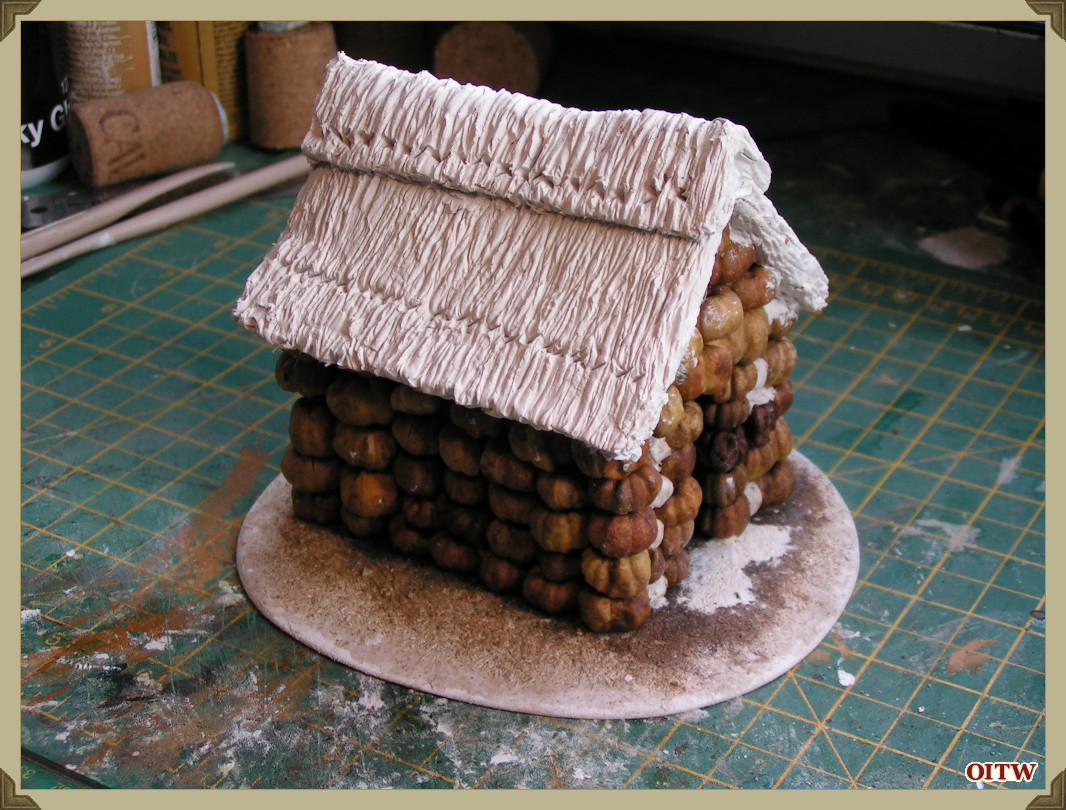
The buildings core was first glued to a sub base of artboard before being further strengthened with strips of torn newspaper glued in place with PVA glue. This simple technique produces very strong foundations onto which further detail can be added. In this case Pumpkins.
Before gluing the pumpkins in place, I painted the basic house with various acrylic paints – black and dark brown being the predominant colours. I did this as I expected the basic under colour to show through in places and I thought that plain black was a little stark.
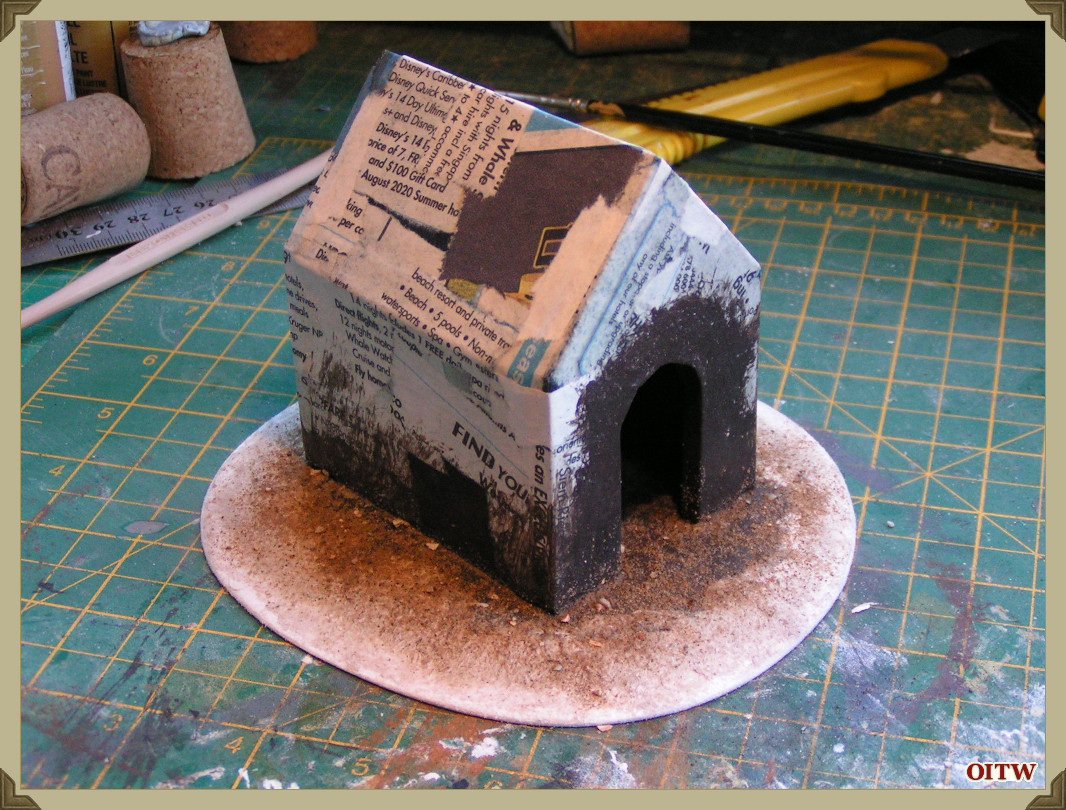
I produced a base from some 3mm thick plastic card (the sort used as advertising signs) – the base was cut into a rough oval and the edges chamfered by first cutting and then sanding to shape. The base was further detailed with DAS modelling clay and sieved sand glued in place with PVA glue.
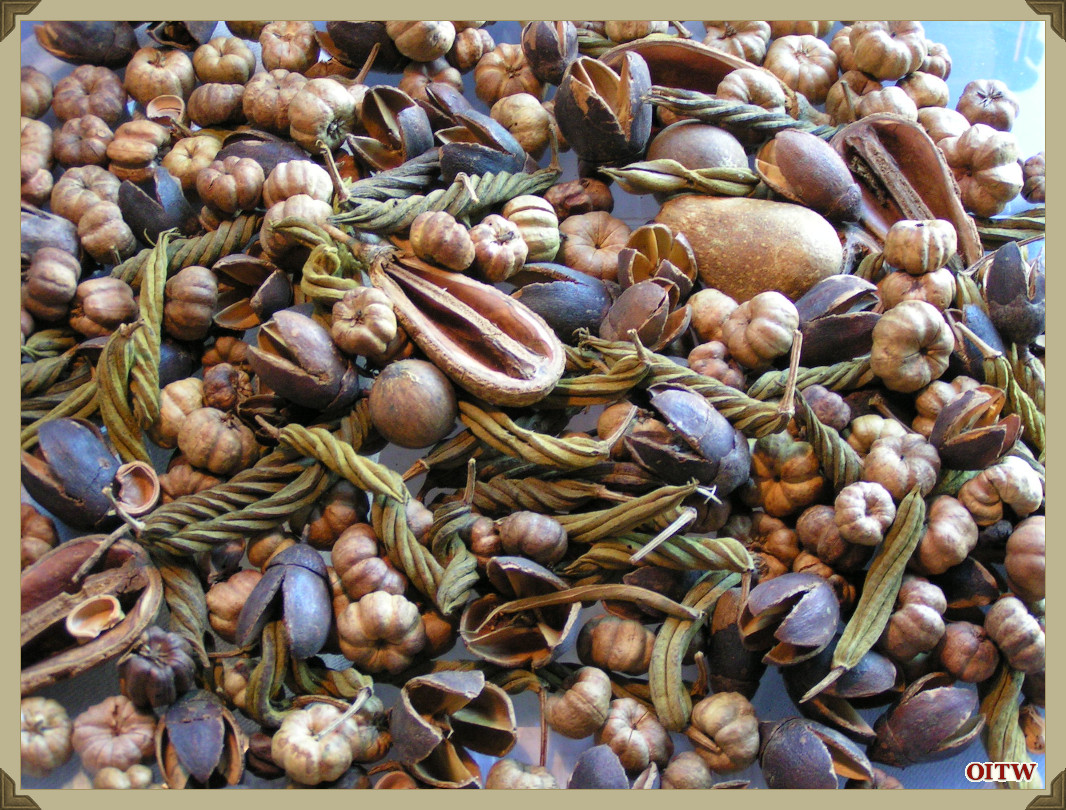
The pumpkins are in fact seeds, or putka pods which are sold for dried flower arranging and decoration. I picked mine up some time ago in a charity shop for £1.00 and have already used some to model a Pumpkin patch – for details see this link; https://dampfpanzerwagon.blogspot.com/2019/02/the-pumpkin-patch-part-one-construction.html.
I cut the putka pods to shape and size with either a fine toothed saw or a modelling knife and glued them in place with superglue. It was a messy business but didn’t take too long.
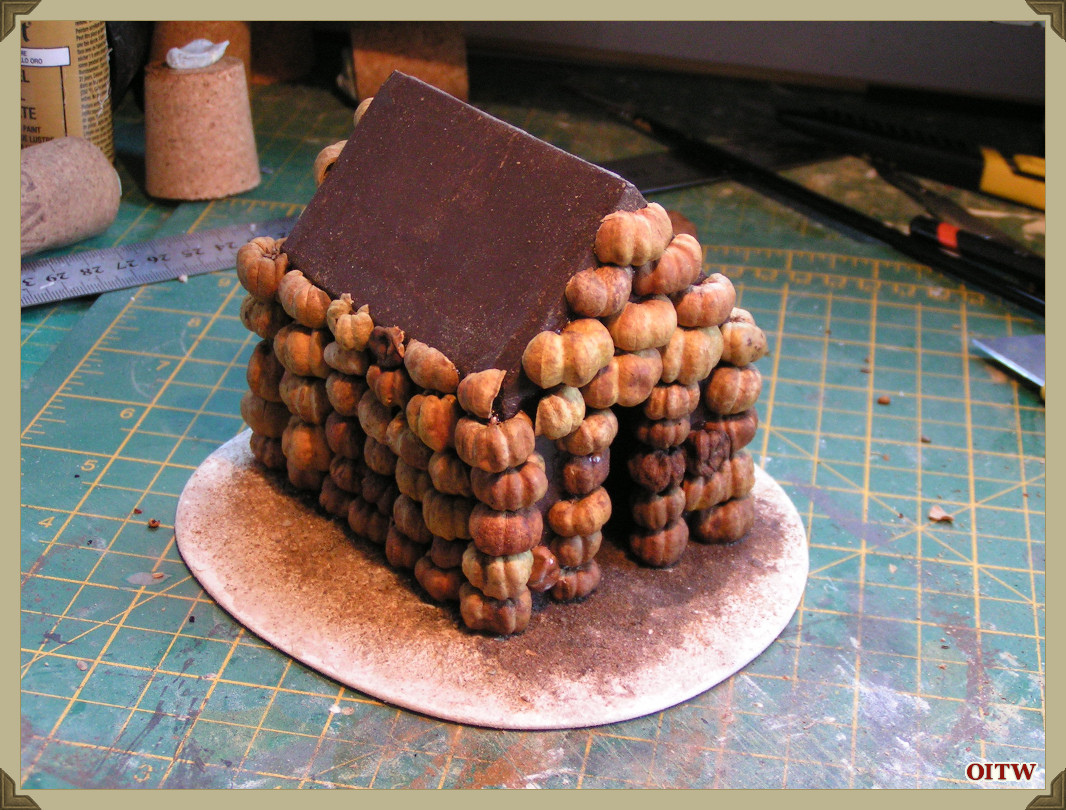
The thatched roof was modelled from DAS modelling clay and textured with a metal sculpting tool and a blunt knife.
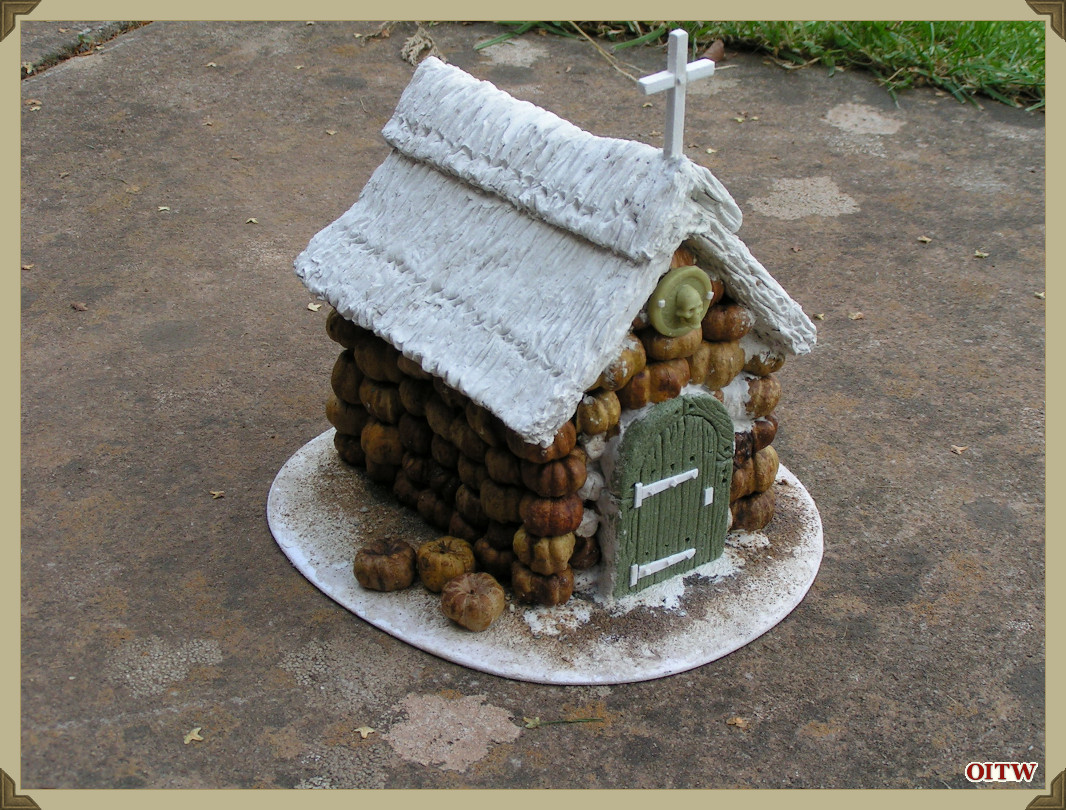
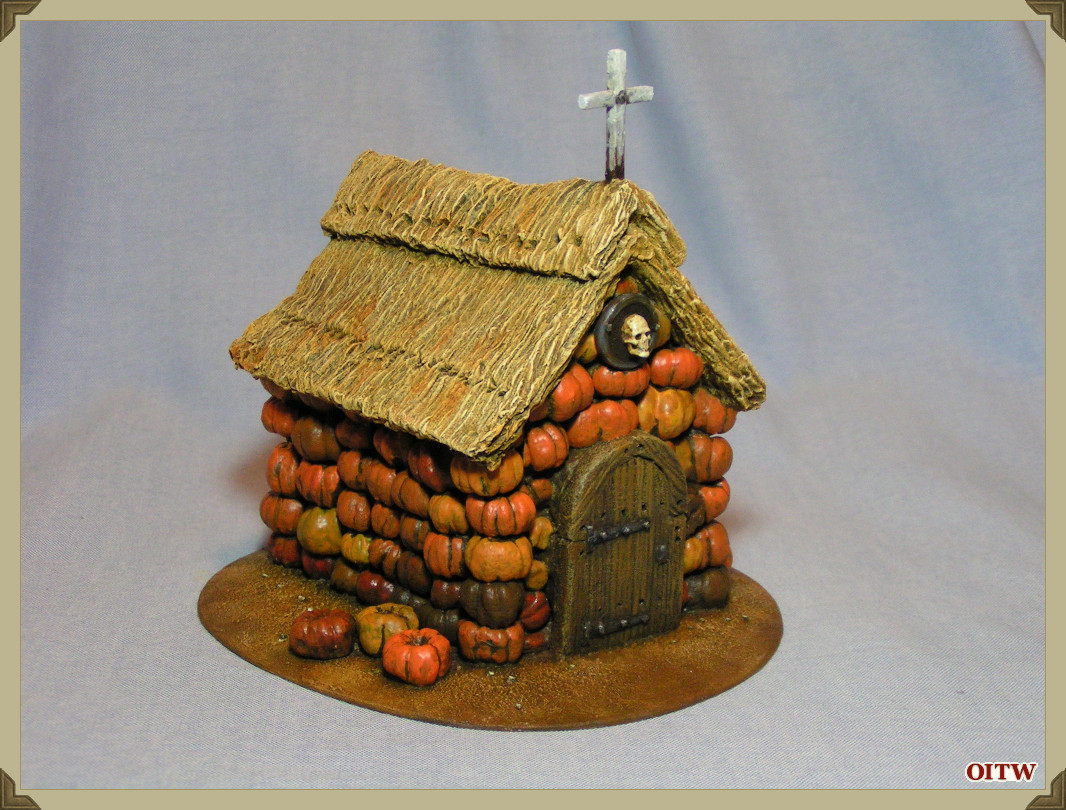
After a conversation with my wife, I decided to re-model the main door and using some 5mm thick foam proceeded to make an arch-topped wooden door. Any gaps were filled with DAS.
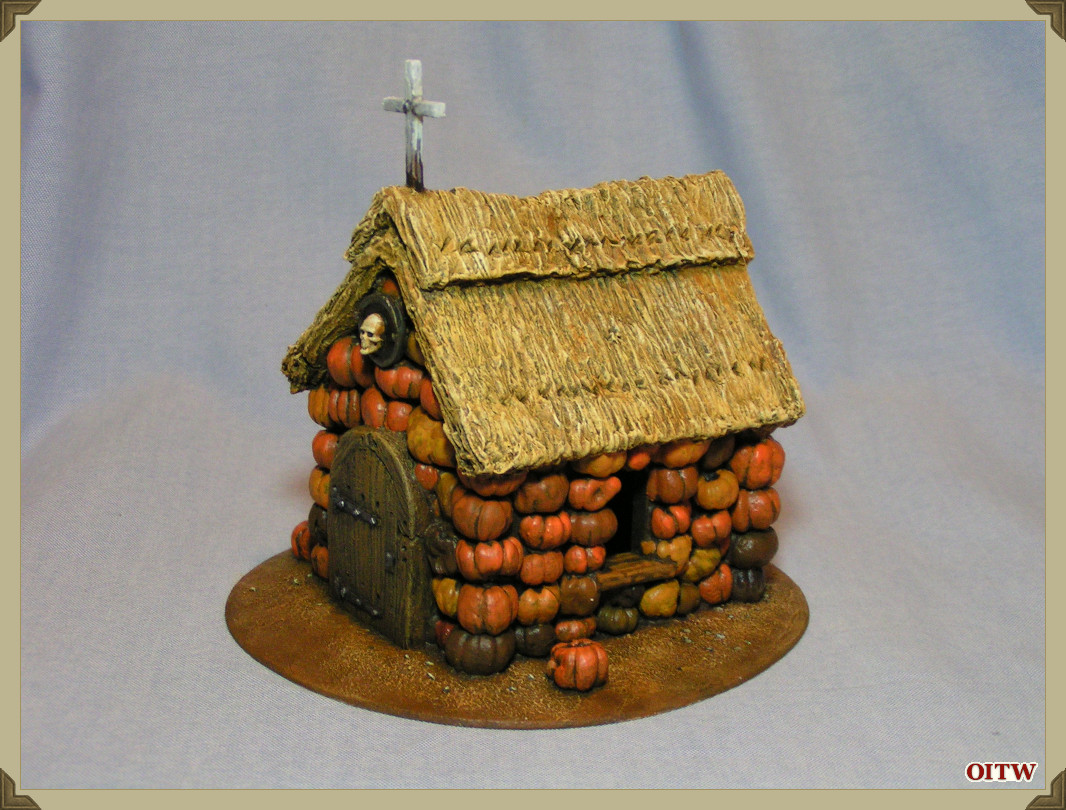
The shield and skull were from my spares box and the wooden cross was modelled from some more 5mm thick plastic card.
Detailing on the door was done with plastic card and plastic rod.
Painting
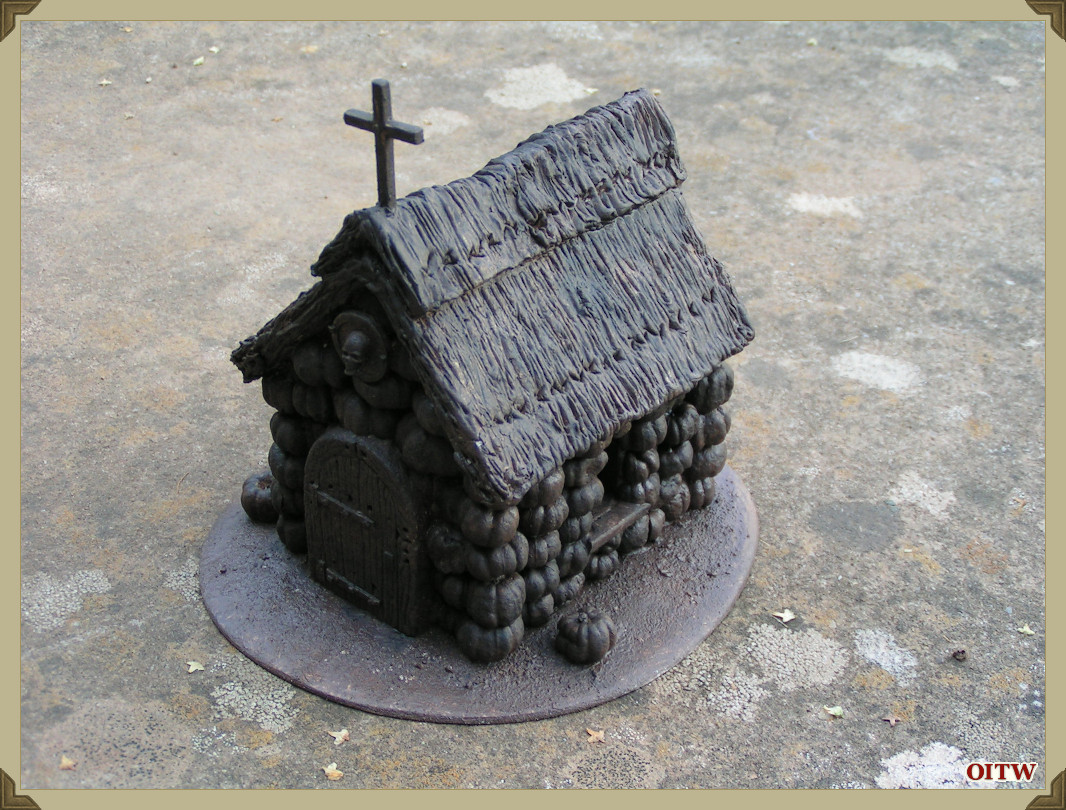
I started with an all-over dark brown/black basecoat which was applied with a large hogs-hair brush, making sure that I got colour into all the nooks and crannies.
It was now time to paint the thatch. I used a mixture of browns, cream and even yellow acrylic paints to give the model a glowing thatch colour.
Then onto the task of individually painting the orange pumpkins! It was however quite relaxing and in the end didn’t take that long. I used a mixture of Citadel and Vallejo acrylic paints to get a haphazard and varied colour scheme very much like the pumpkins in the inspirational image at the beginning of this tutorial.
Detail Painting
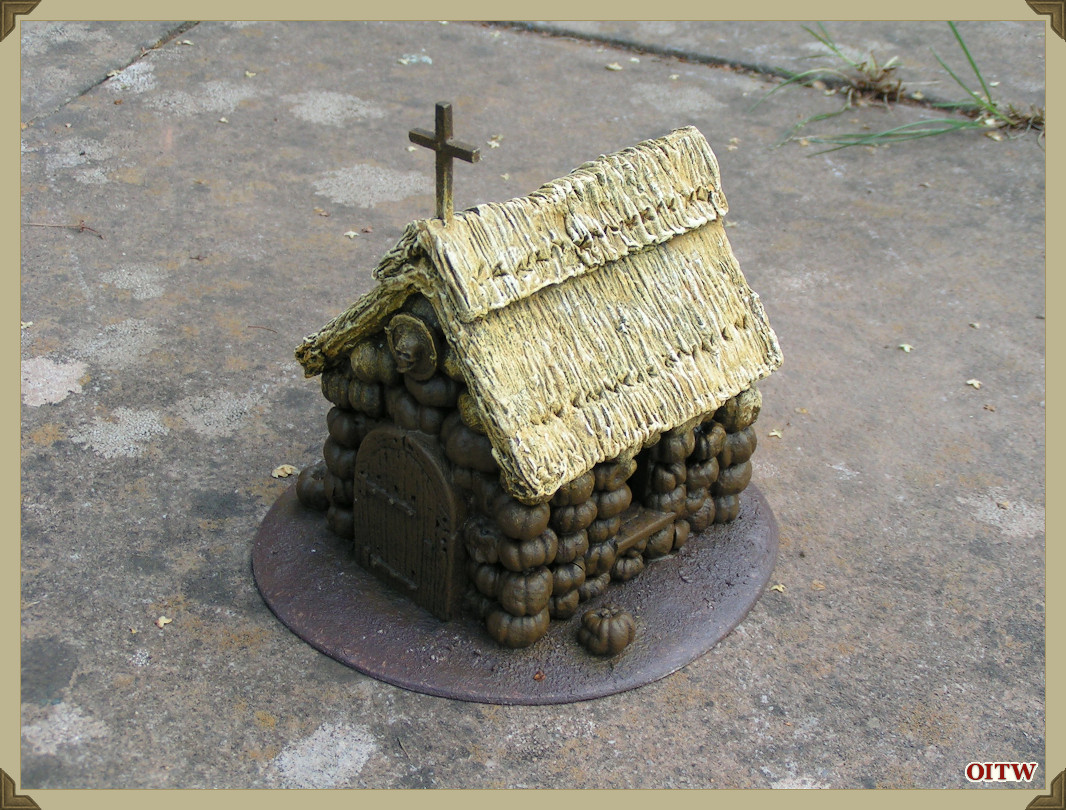
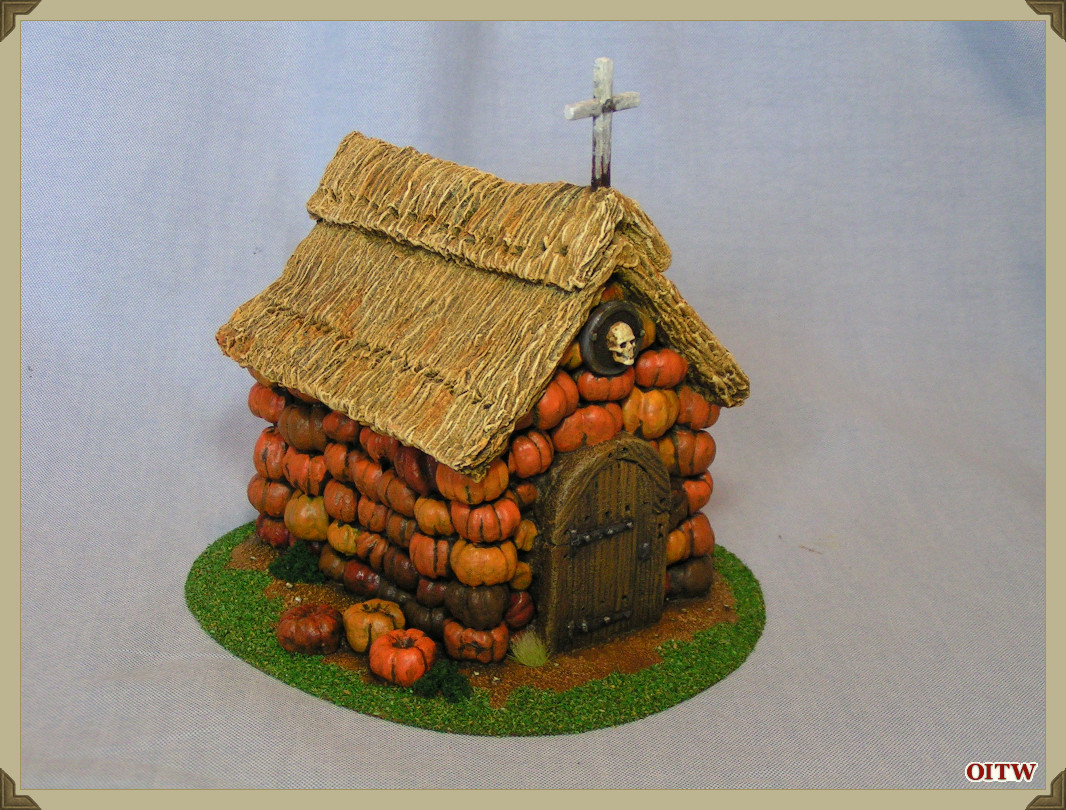
The detailed paining was also done with a mix of Citadel and Vallejo paints. The base or groundwork was built-up over a Snakebite Leather basecoat with Skull White added to produce the drybrushed highlights.
After varnishing the whole model with Galleria Matt Varnish, I flocked the base with dyed sawdust and static grass.
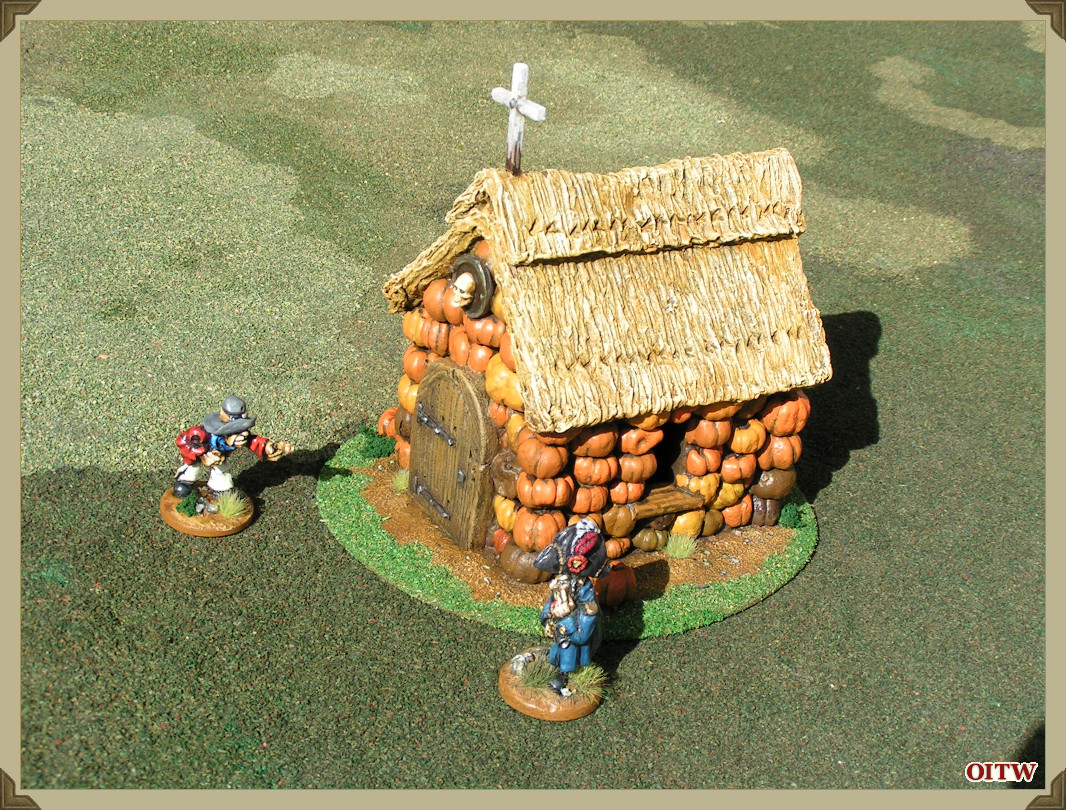
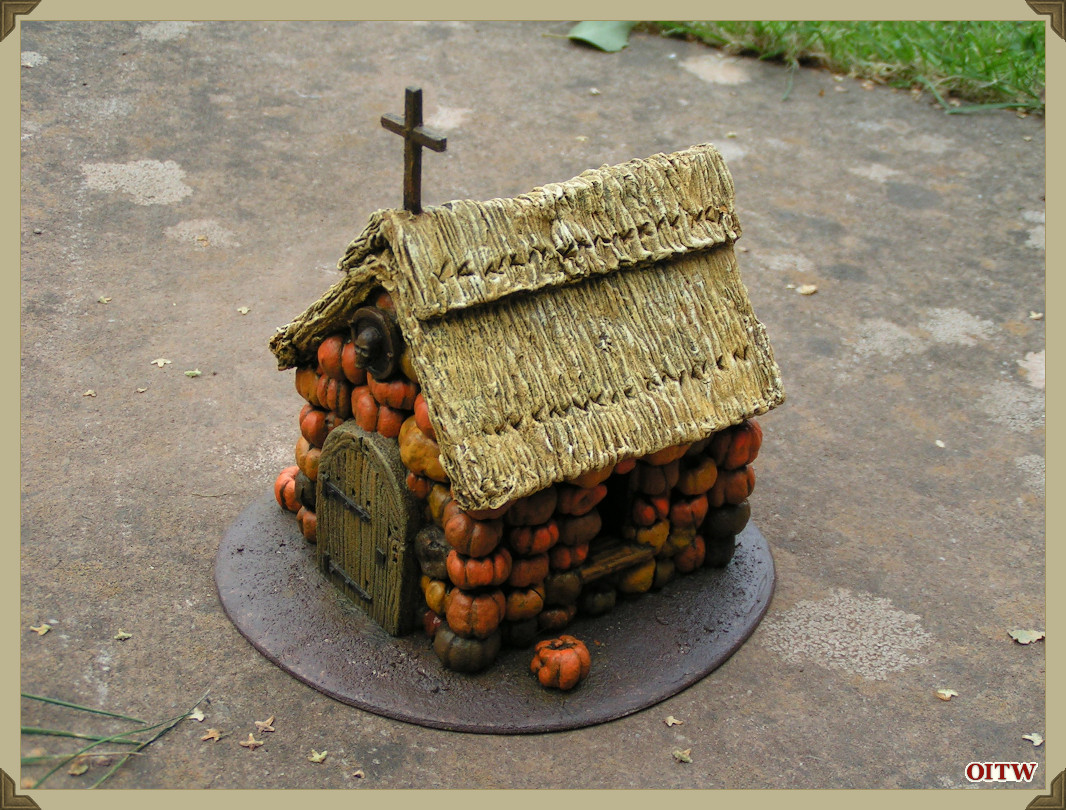
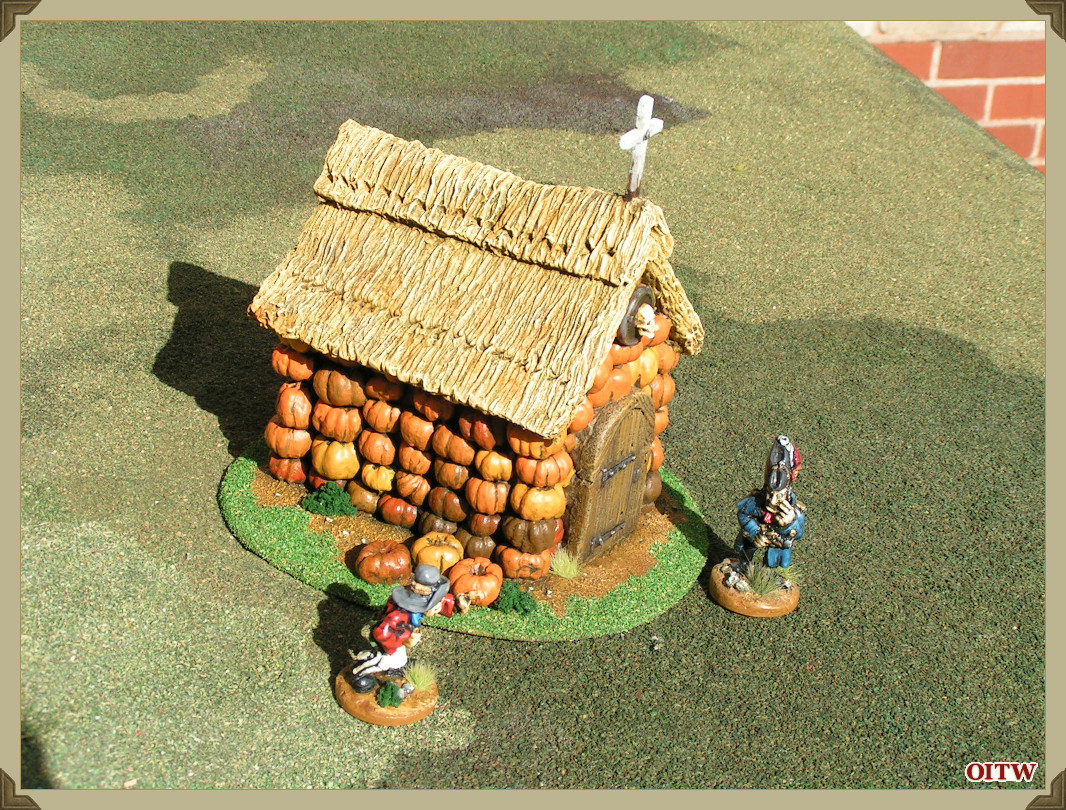
The final image shows the Pumpkin Hovel on my gaming board with some Flintloque miniatures alongside for comparison. The Pumpkin Hovel is 85mm x 100mm x 130mm tall to the top of the wooden cross.
The building was great fun to model and paint. I have no idea how I’ll be using it in any of my Flintloque/Deadloque games, but for me it is the building and finishing of such an unusual project that is much more important and more satisfying than thinking about How Will I Use It in a game.
I hope that you enjoy seeing how it was made.
Happy All Hallow’s Eve
~
Webmaster's Notes
This article was written exclusively for Orcs in the Webbe and was first published on All Hallow's Eve, the 31st October, 2019.
You can read all the previous All HAllow'd Eve articles by clicking on his maroon tag just below and to the left.
~